
I know we all love fabric but I just adore scraps!! If someone is selling a bag of scraps, I am there!! I think sometimes fabrics can be over looked; the print is too big, the color is not right; the print is too small, too geometric, too modern, to vintage, etc! But, just a small scrap of that fabric can work wonders!!
I love to paper piece and I love to make string blocks.
The technique I use is not mine, it is not unusual, it is just what I find works for me.
You may make them another way and that is super!
The idea is for you to use your fabrics and have fun!
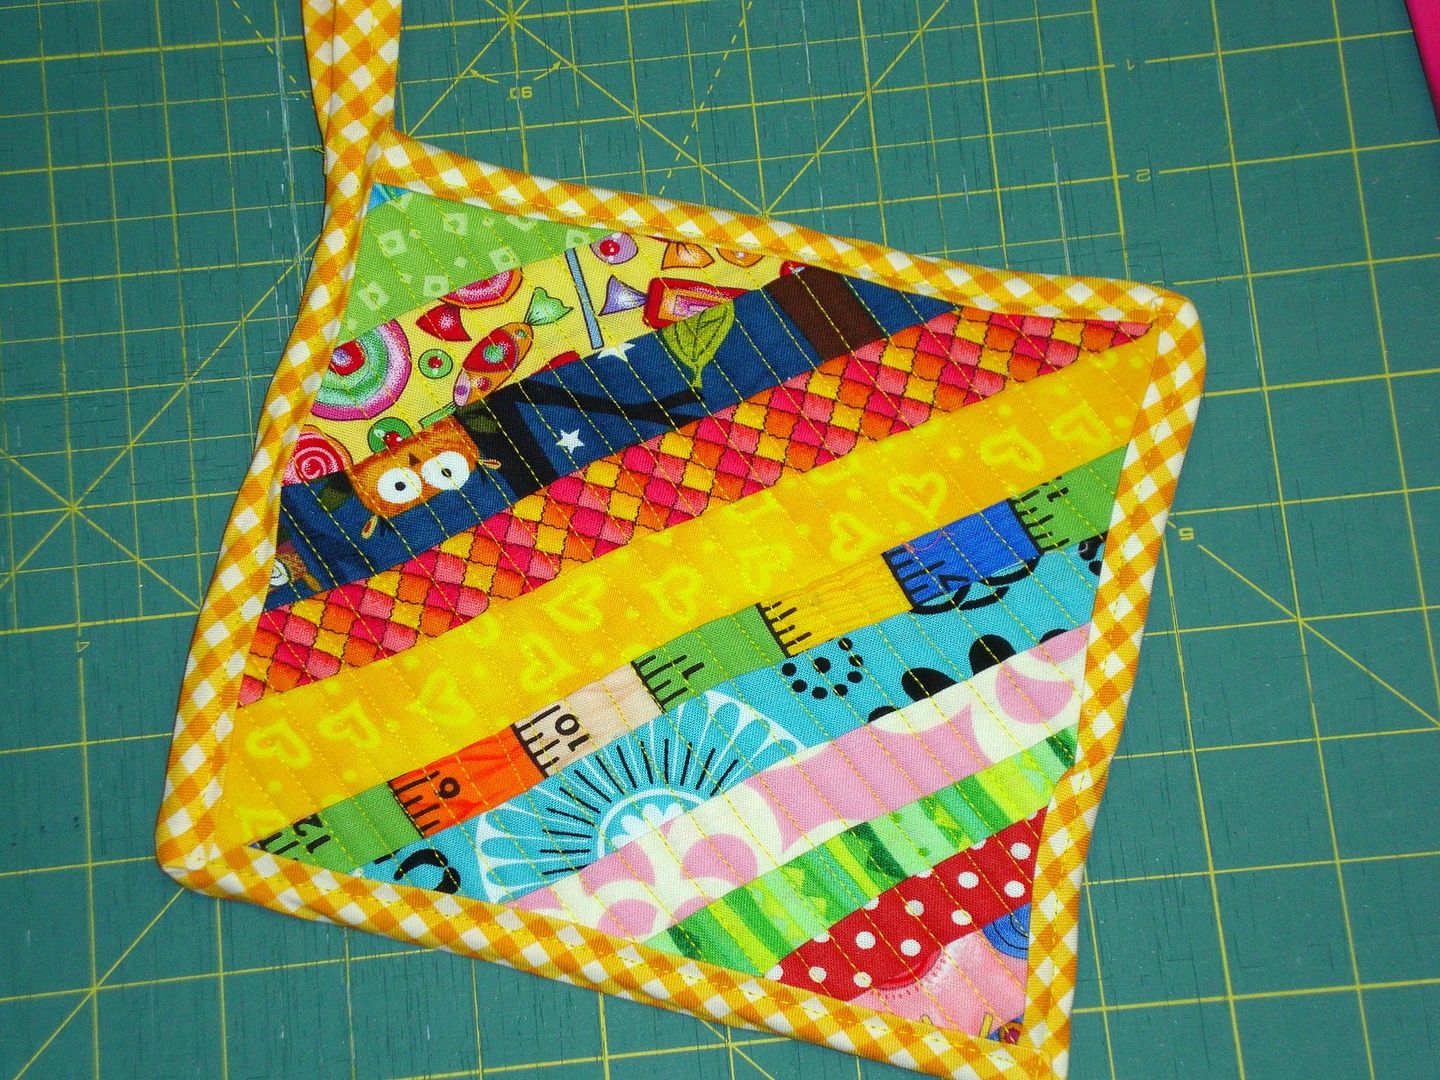
I decided to make a pot holder with a paper piecing method.
Now I know there are special papers made for paper piecing but I just use my good old printer/copy paper.
Make sure you set your machine to sew a very small stitch length.
This will make it easy peasy to take the paper off after sewing. I also use the same needle in my machine for paper piecing, as it can become dull. So change your needle too!
This block can be made with muslin as the foundation, but I do not like the extra fabric, especially if you plan on making a quilt. I would find it hard “for me” to hand quilt through all the layers. As I do not machine quilt, I can only speak for myself.
OK let’s get started…..
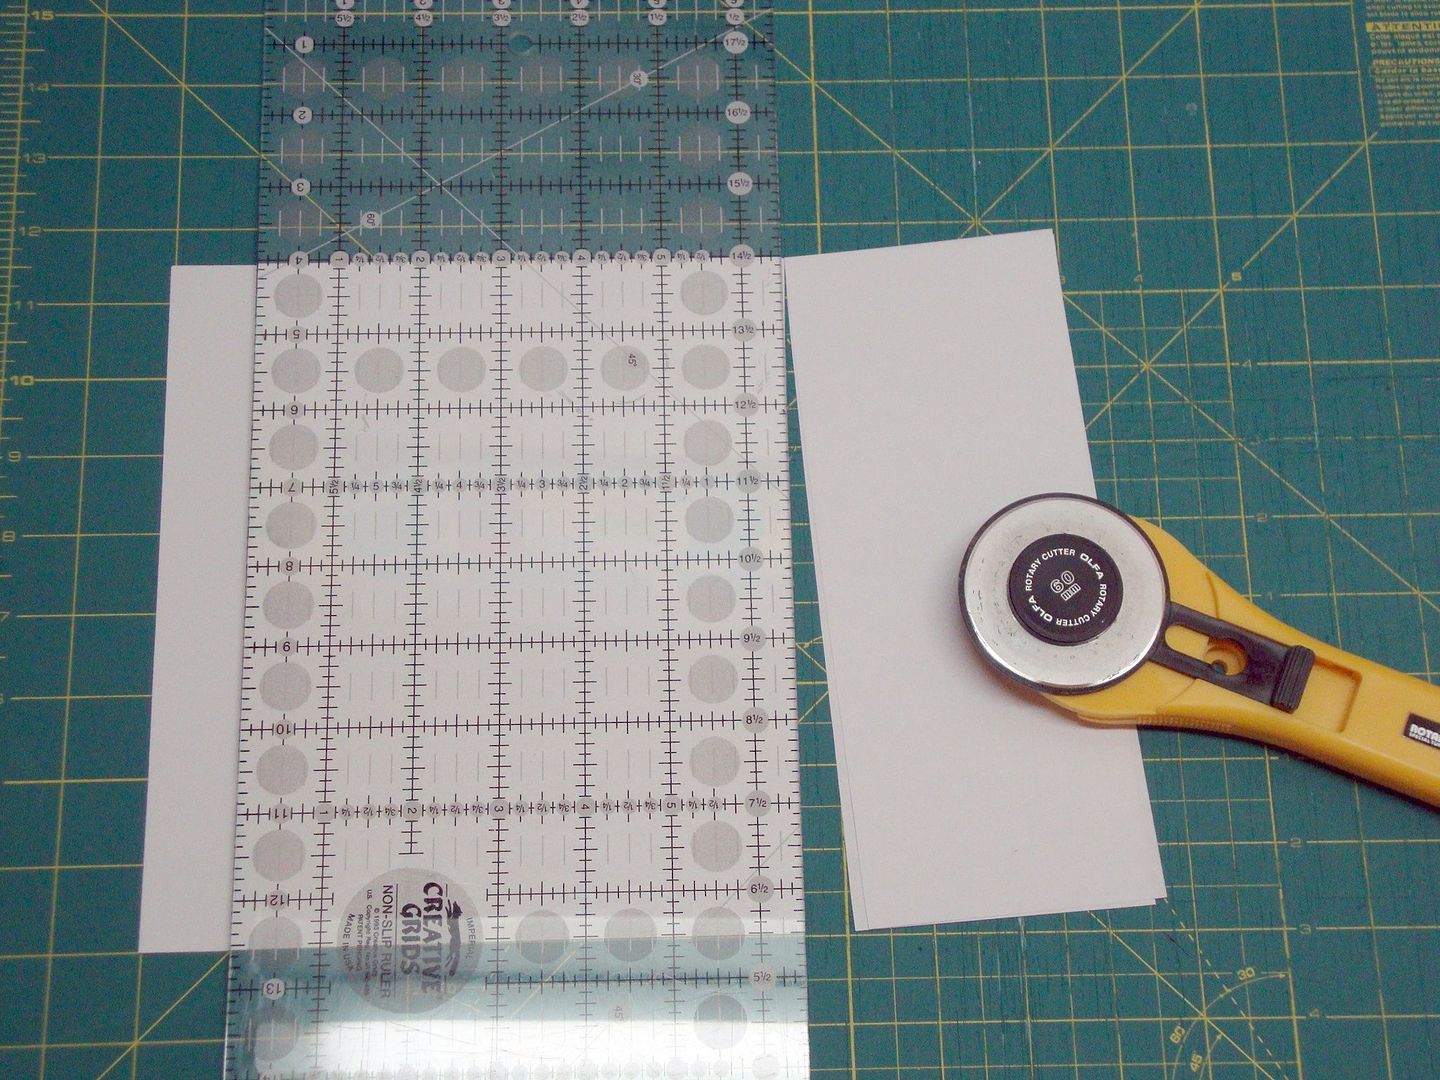
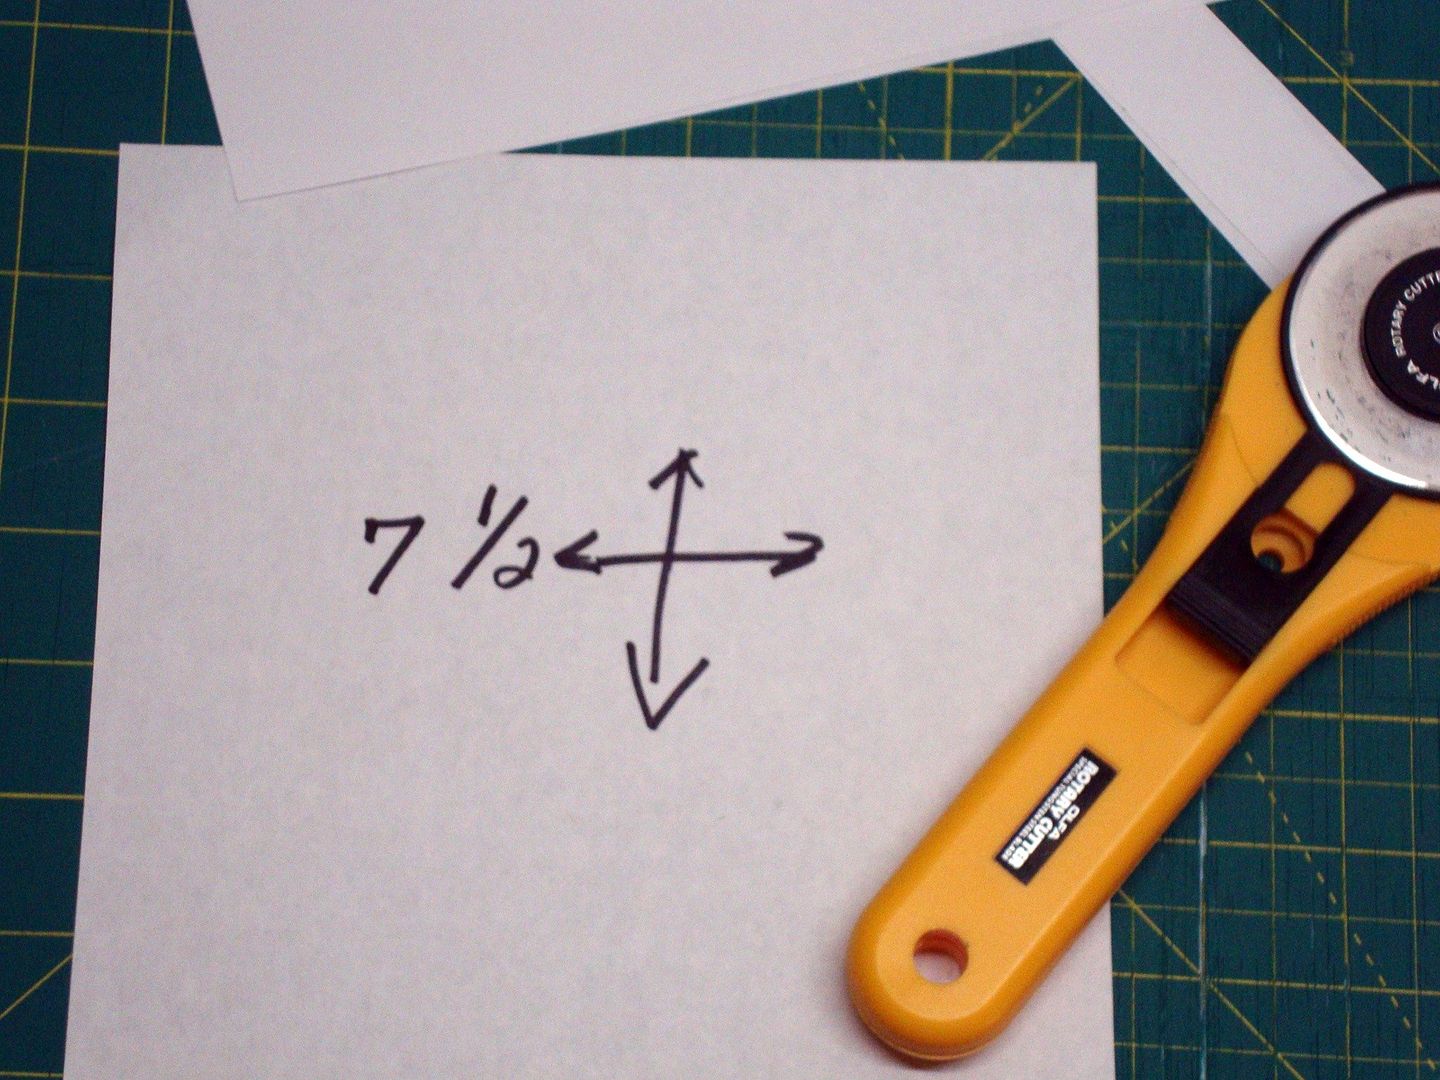
Decide how large you would like your pot holder, I decided on 7 inches. I cut my paper 7 ½ by 7 ½, a little larger so I could trim it to the exact size I wanted.
Next get out your scraps!!!!
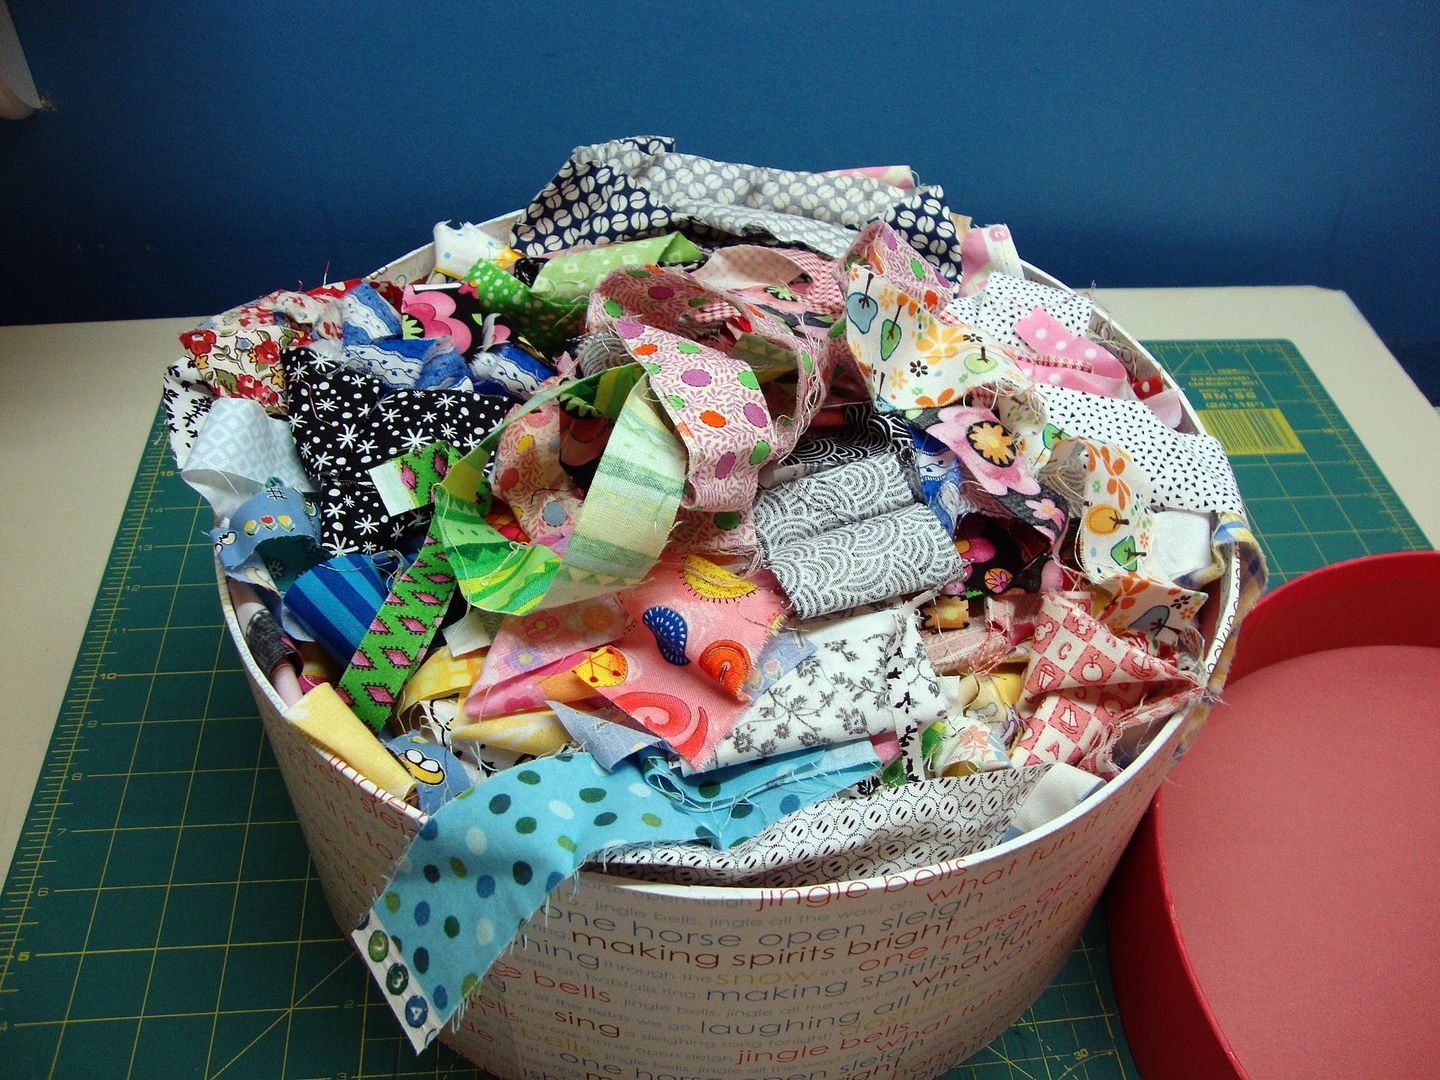
I thought it would be fun to just reach in and grab a piece of fabric and begin to sew!
Grab one, do not look or match or fuss, if it is not long enough attach two together for the desired length.
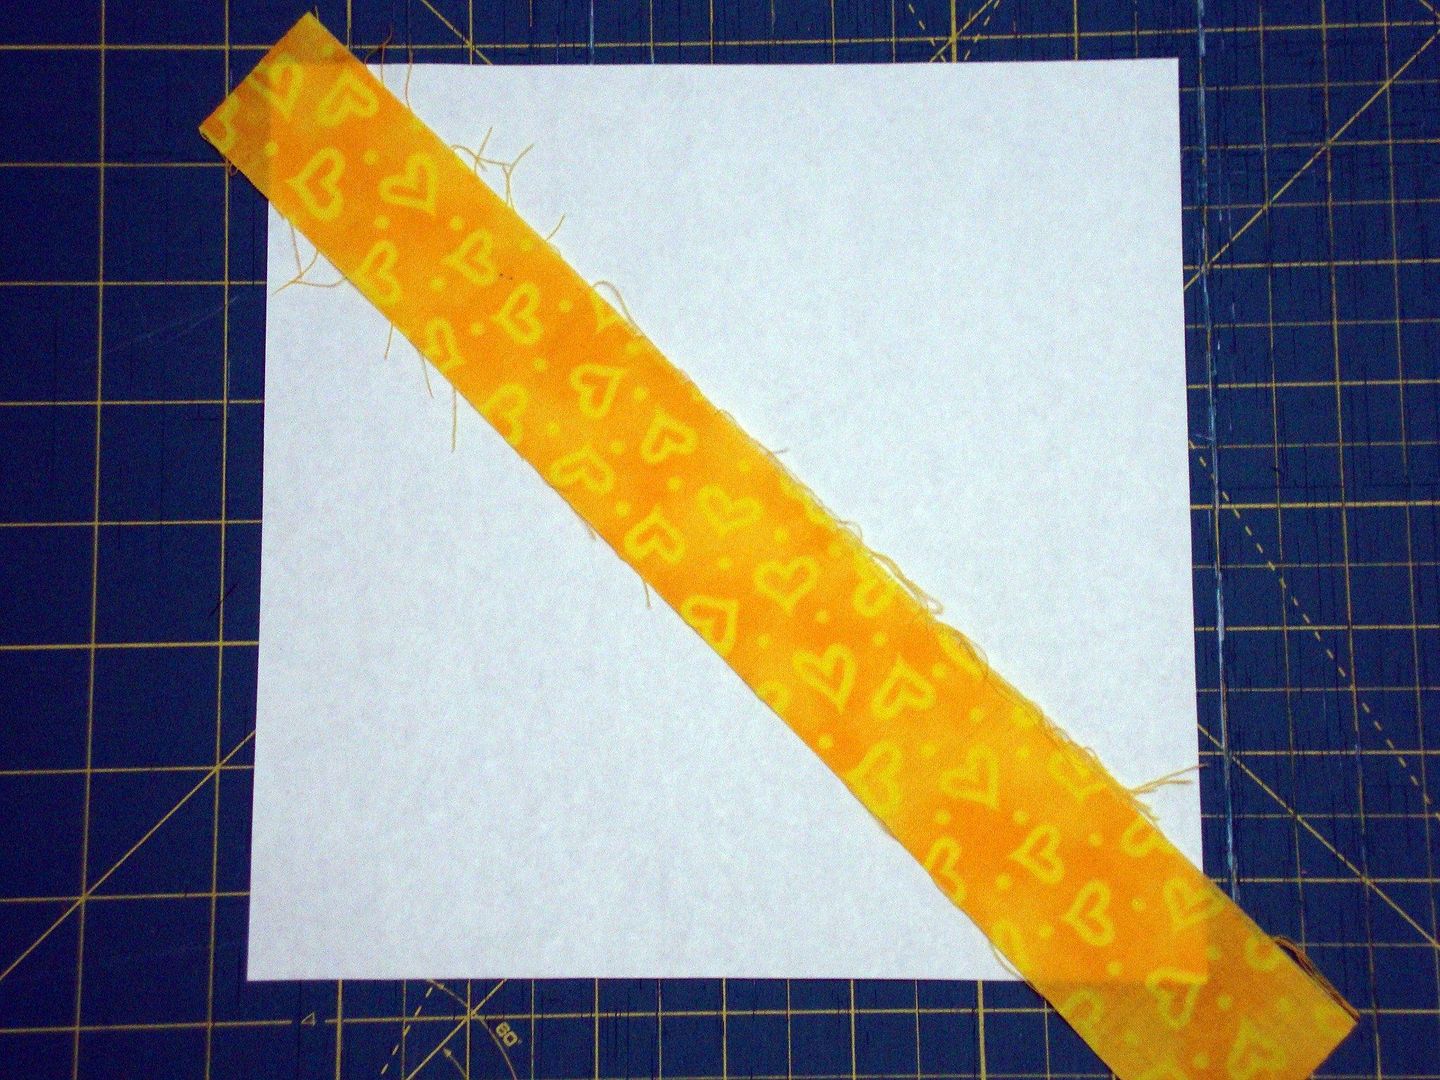
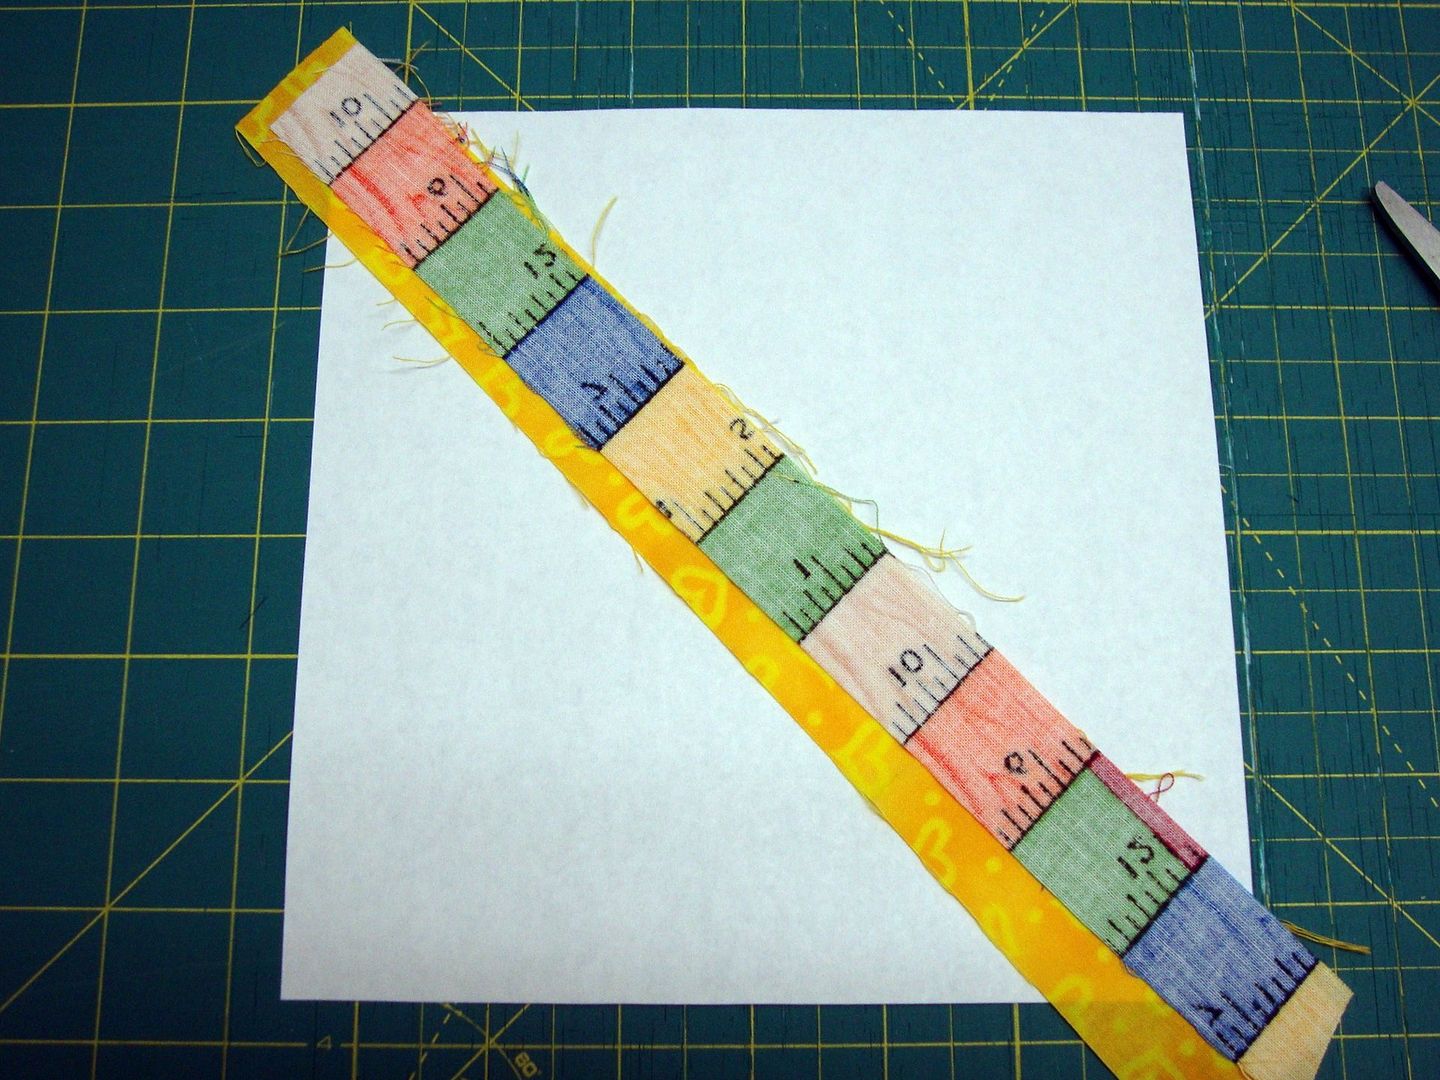
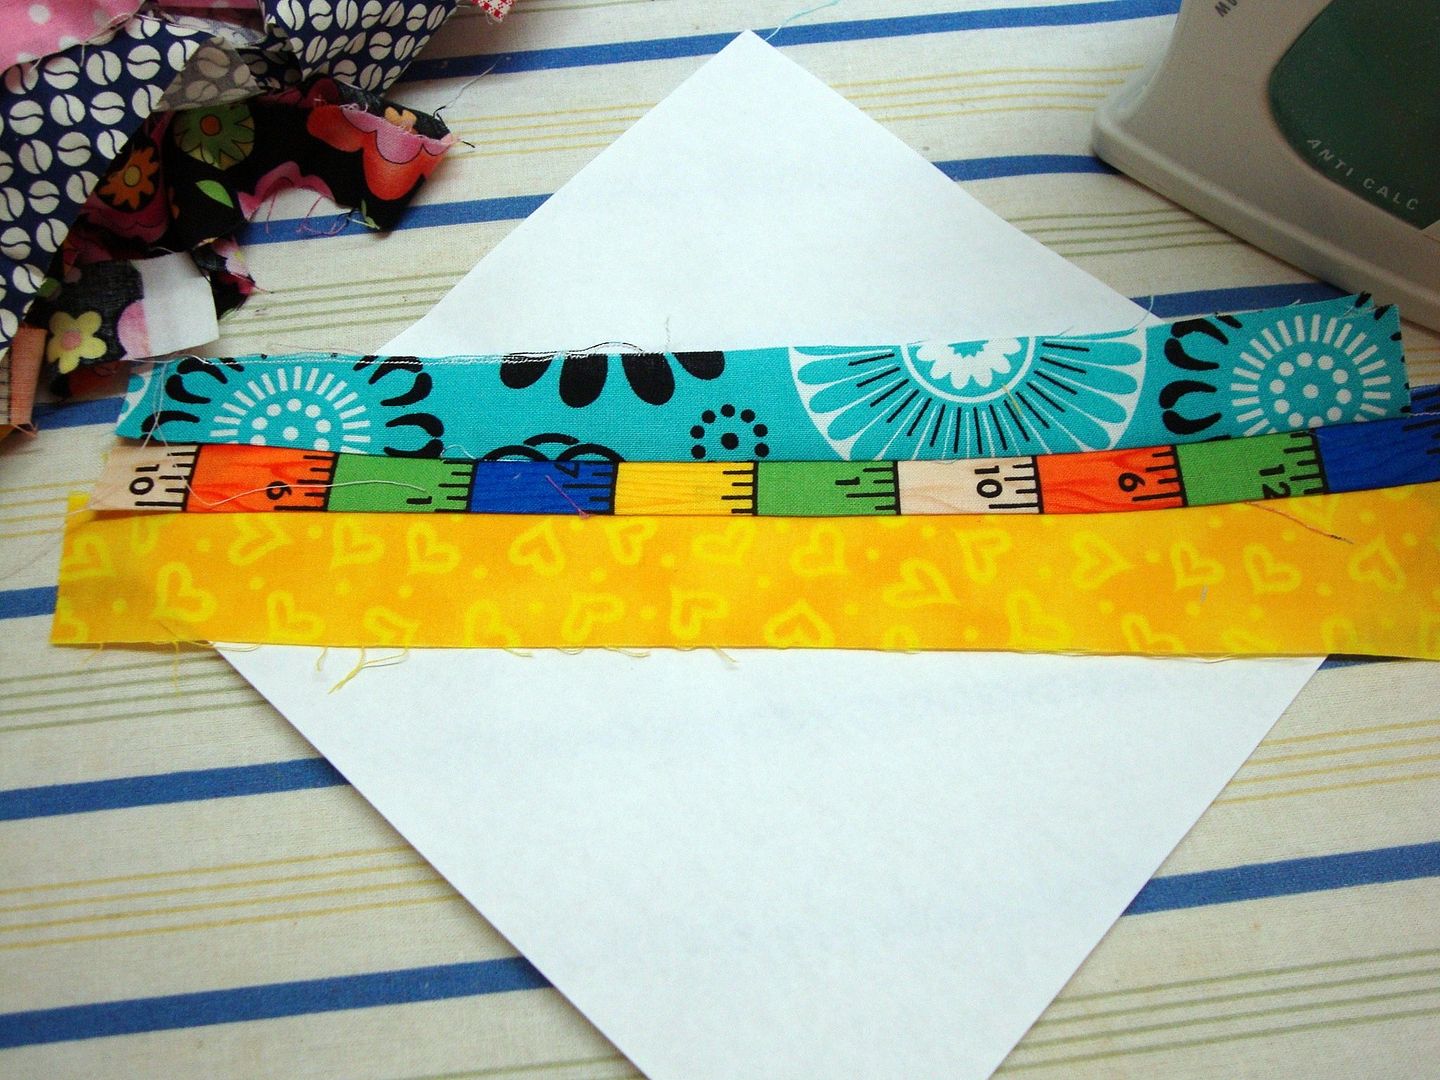
For this piece ONLY lay it right side up diagonal in the middle on your paper. If you want you may use a touch of a washable glue stick to hold it in place, or a pin. I however, wing it!!
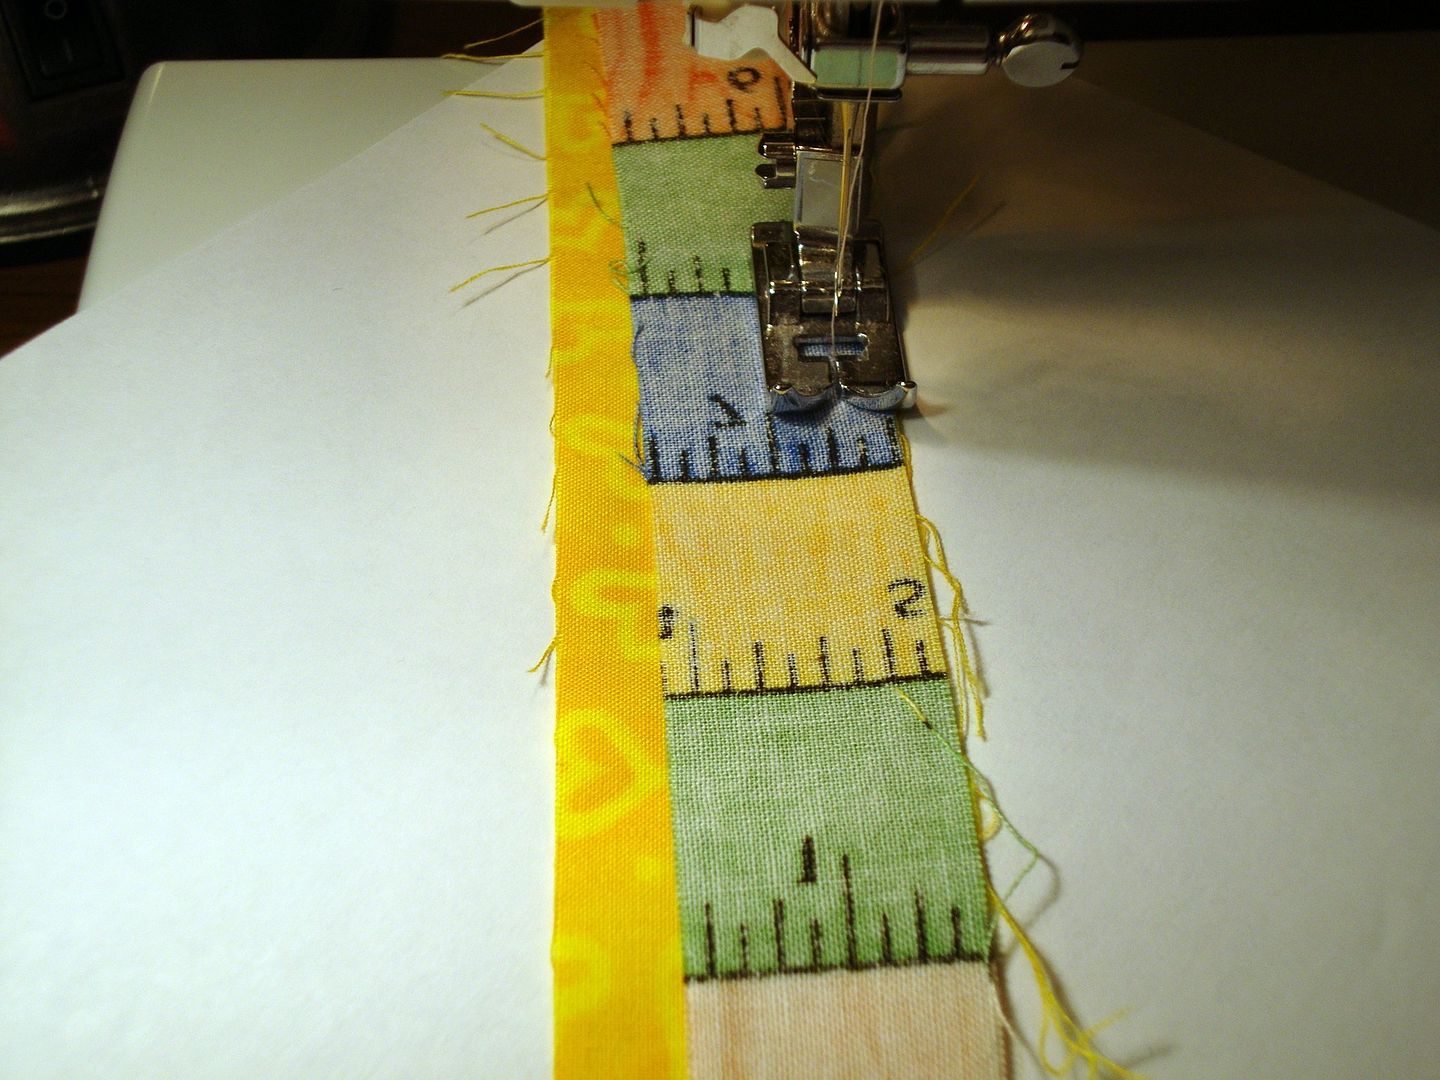
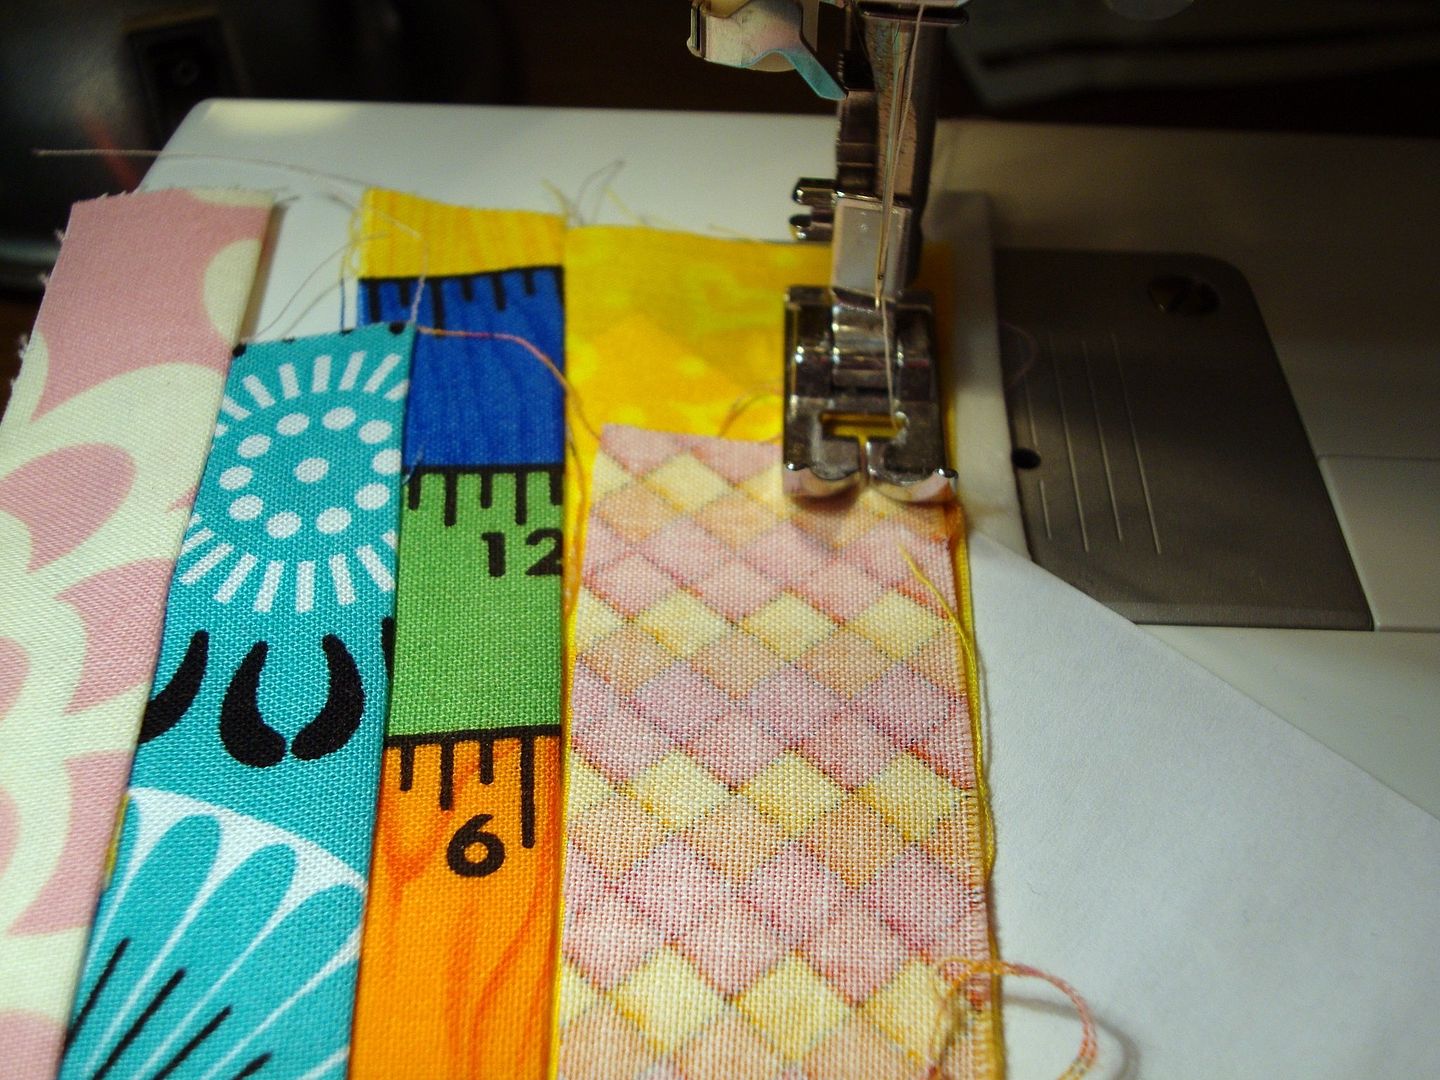
Next GRAB another strip and place it right sides together with the first strip, sew your ¼ inch seam as usual going through all the layers.
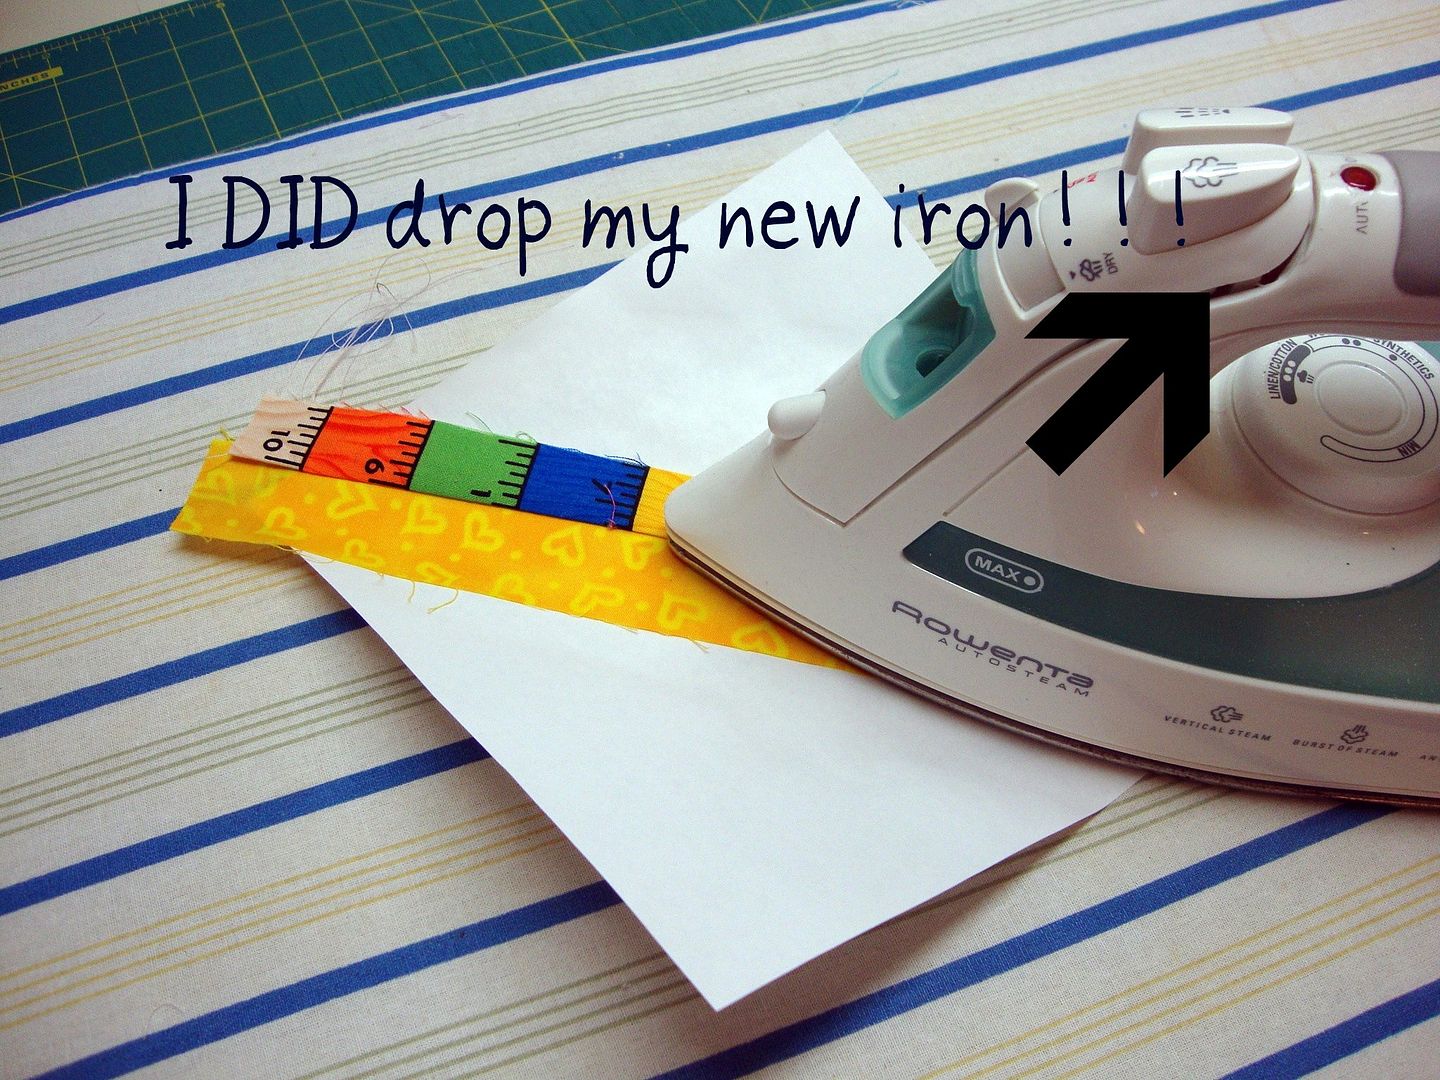
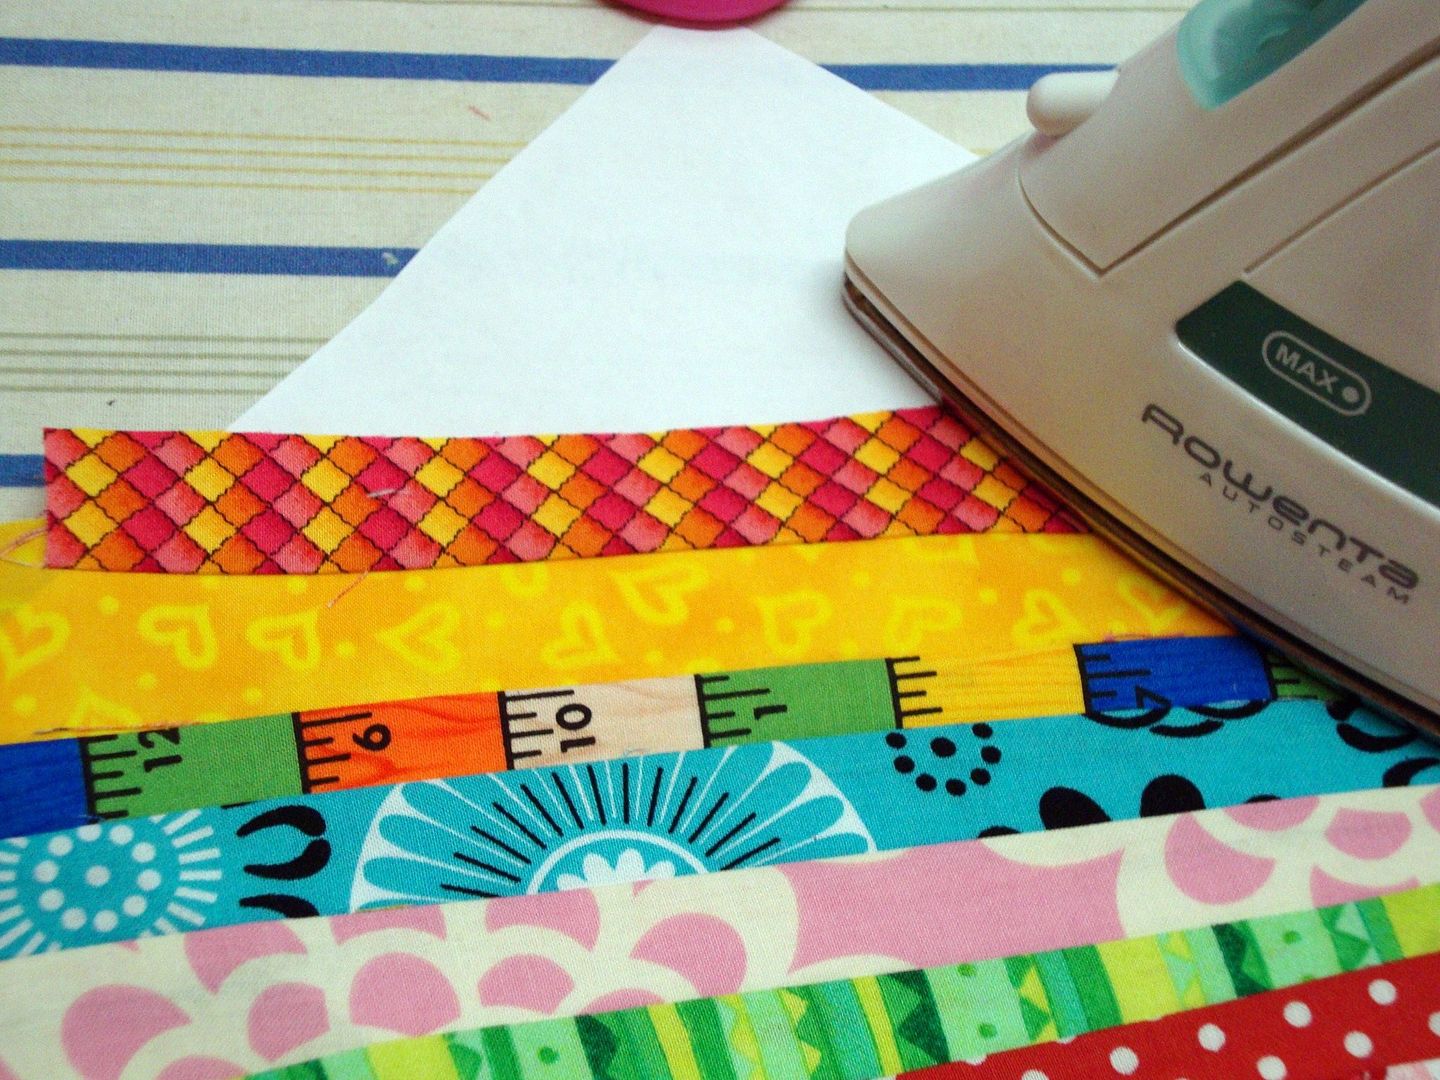
On to the ironing board and iron the piece to one side.
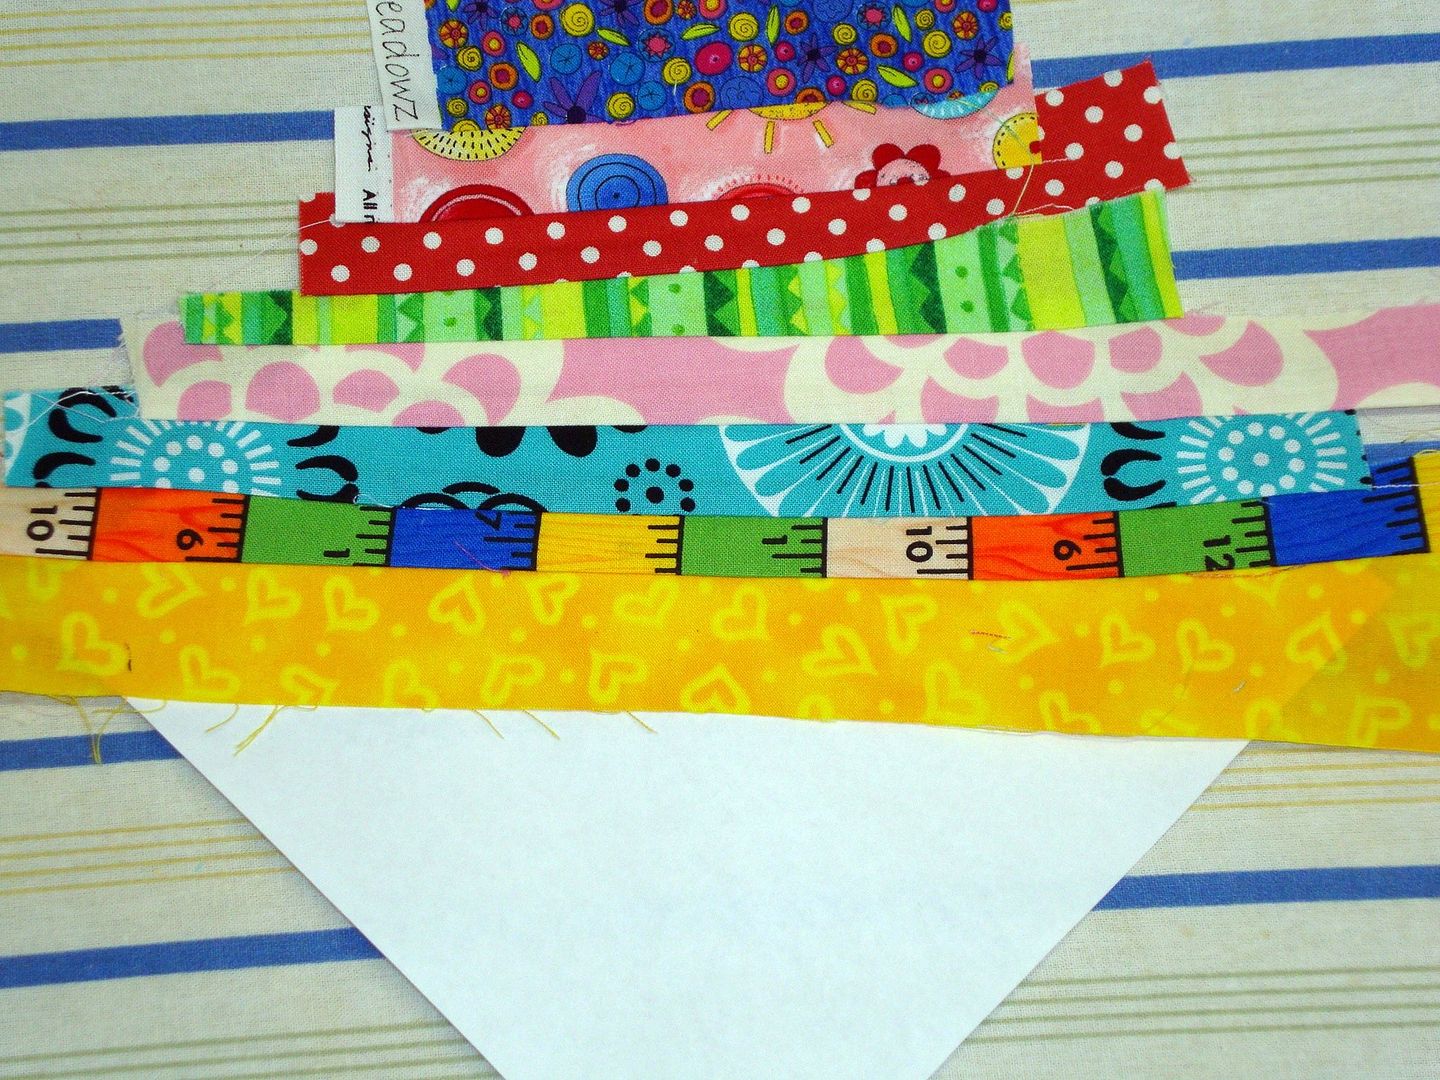
Keep adding pieces of scraps
until you have one half finished. This is how it will look.
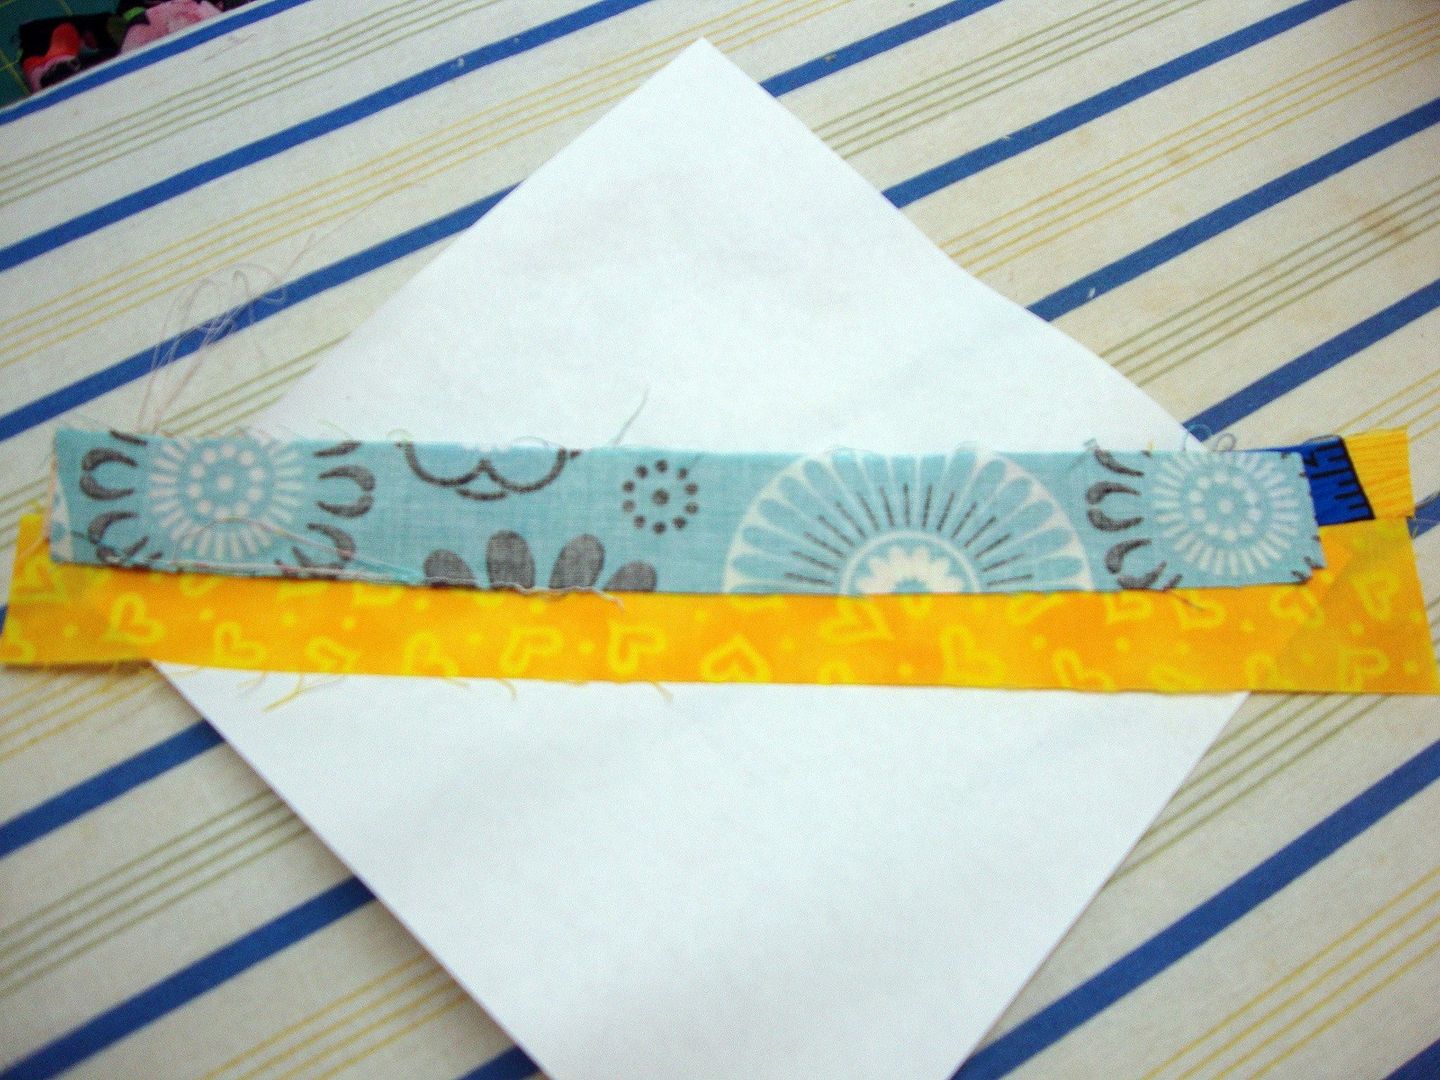
Now we will do the same to the other side, you will have to flip it around!
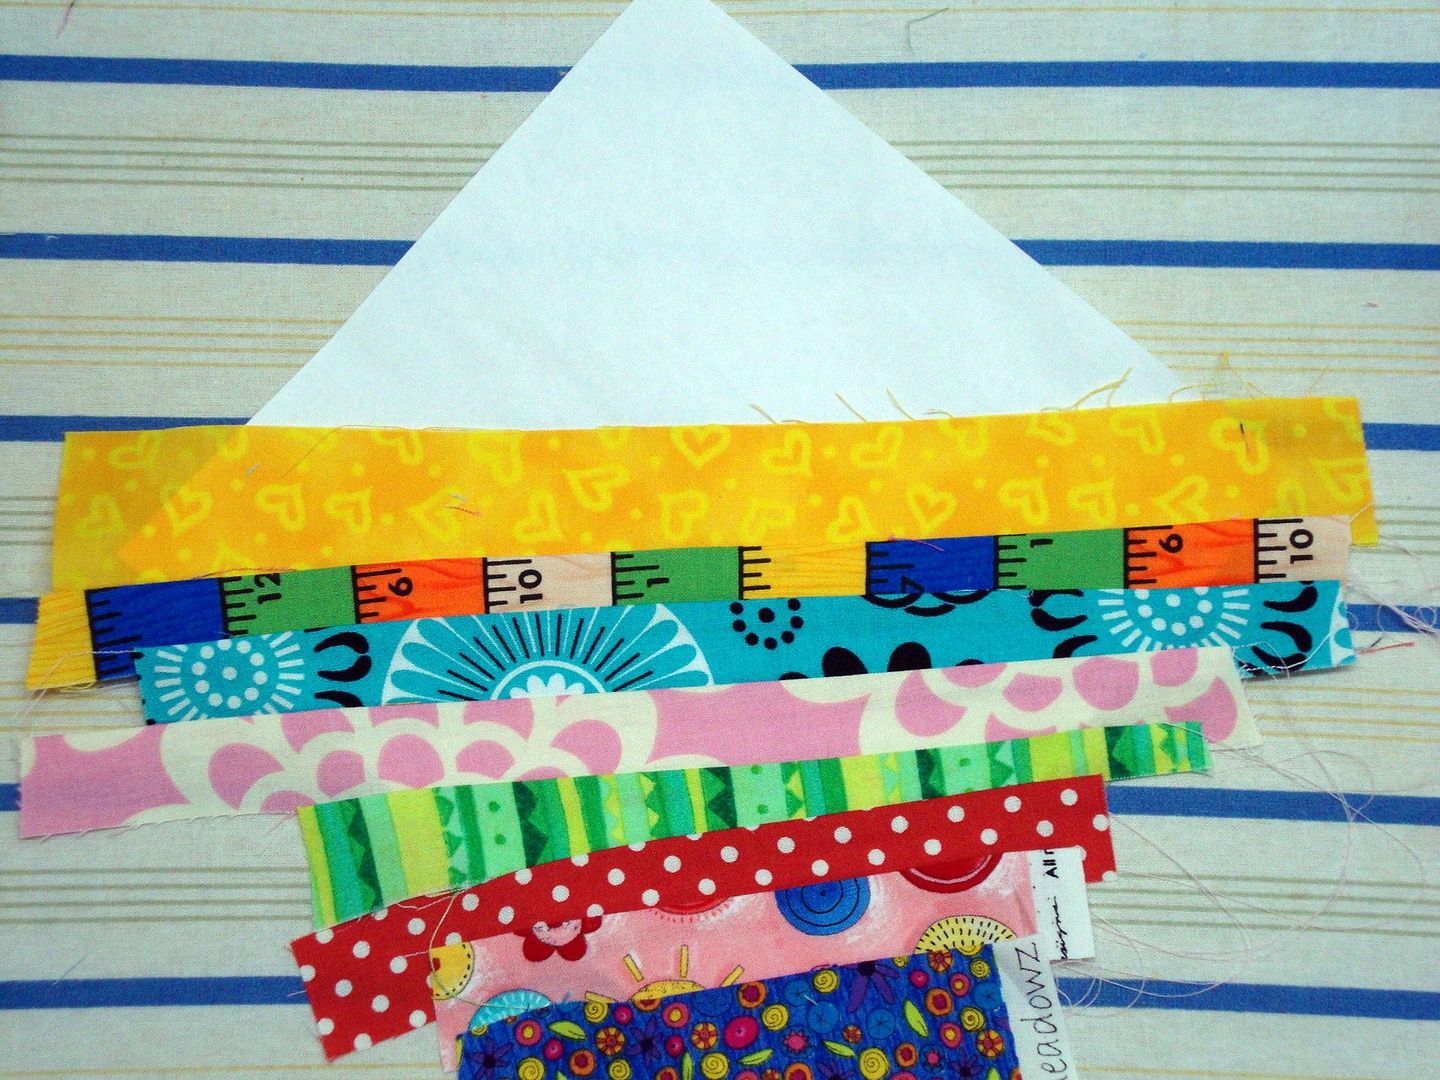
Start from the middle again, by putting a strip right sides together and sewing.
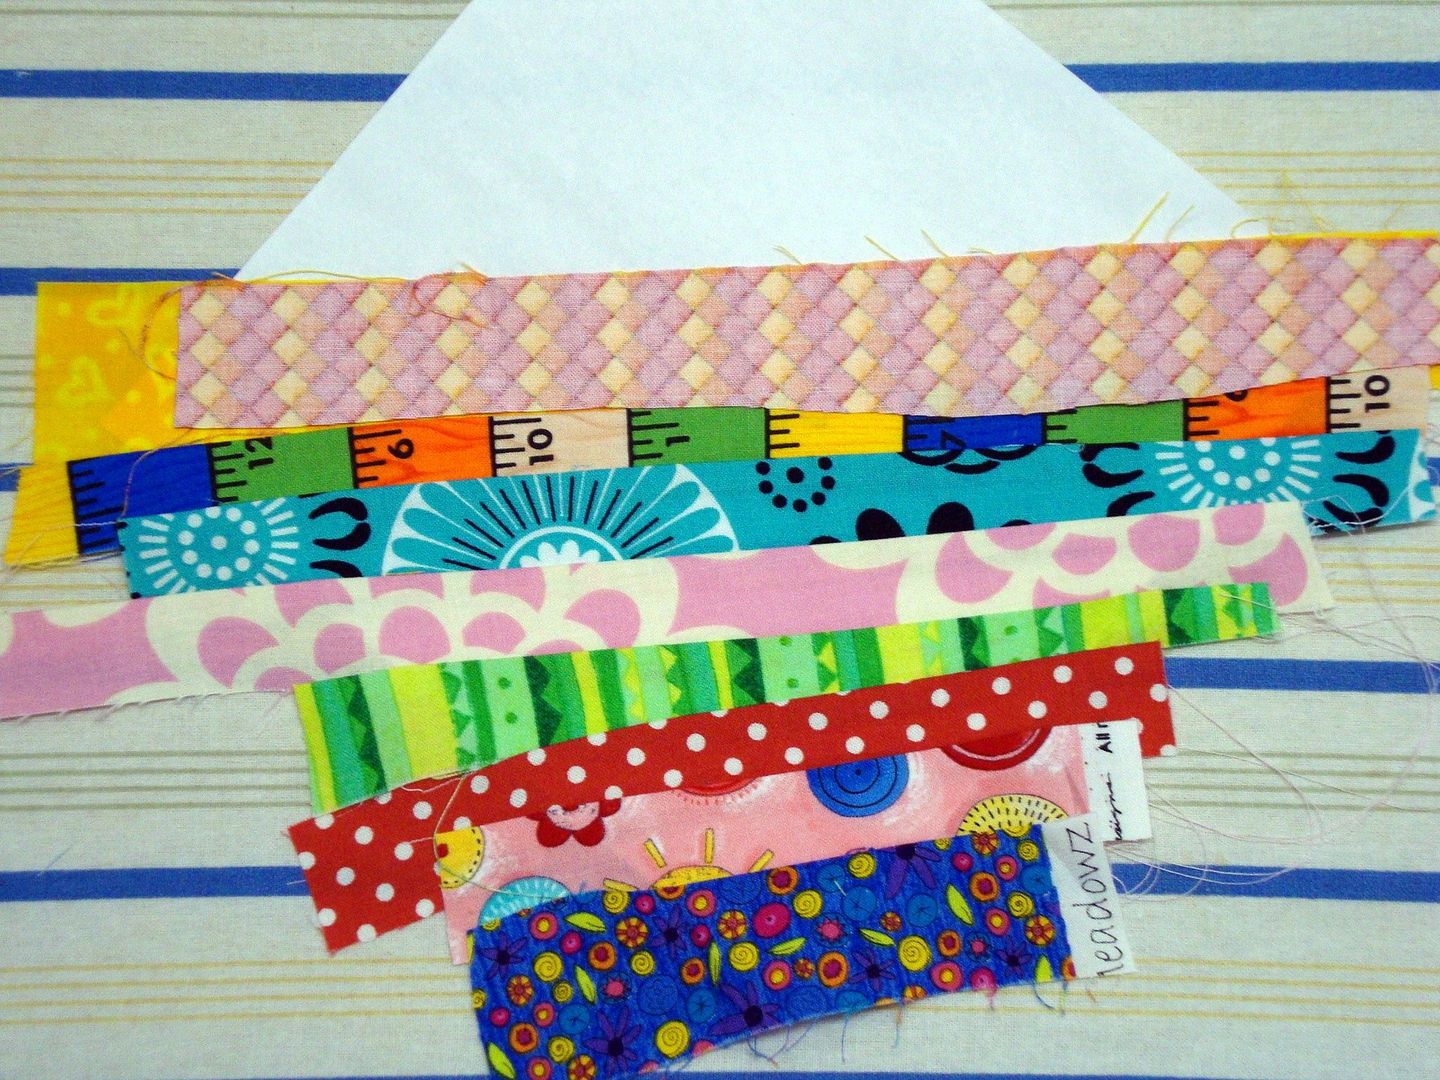
Iron each piece as you did before.
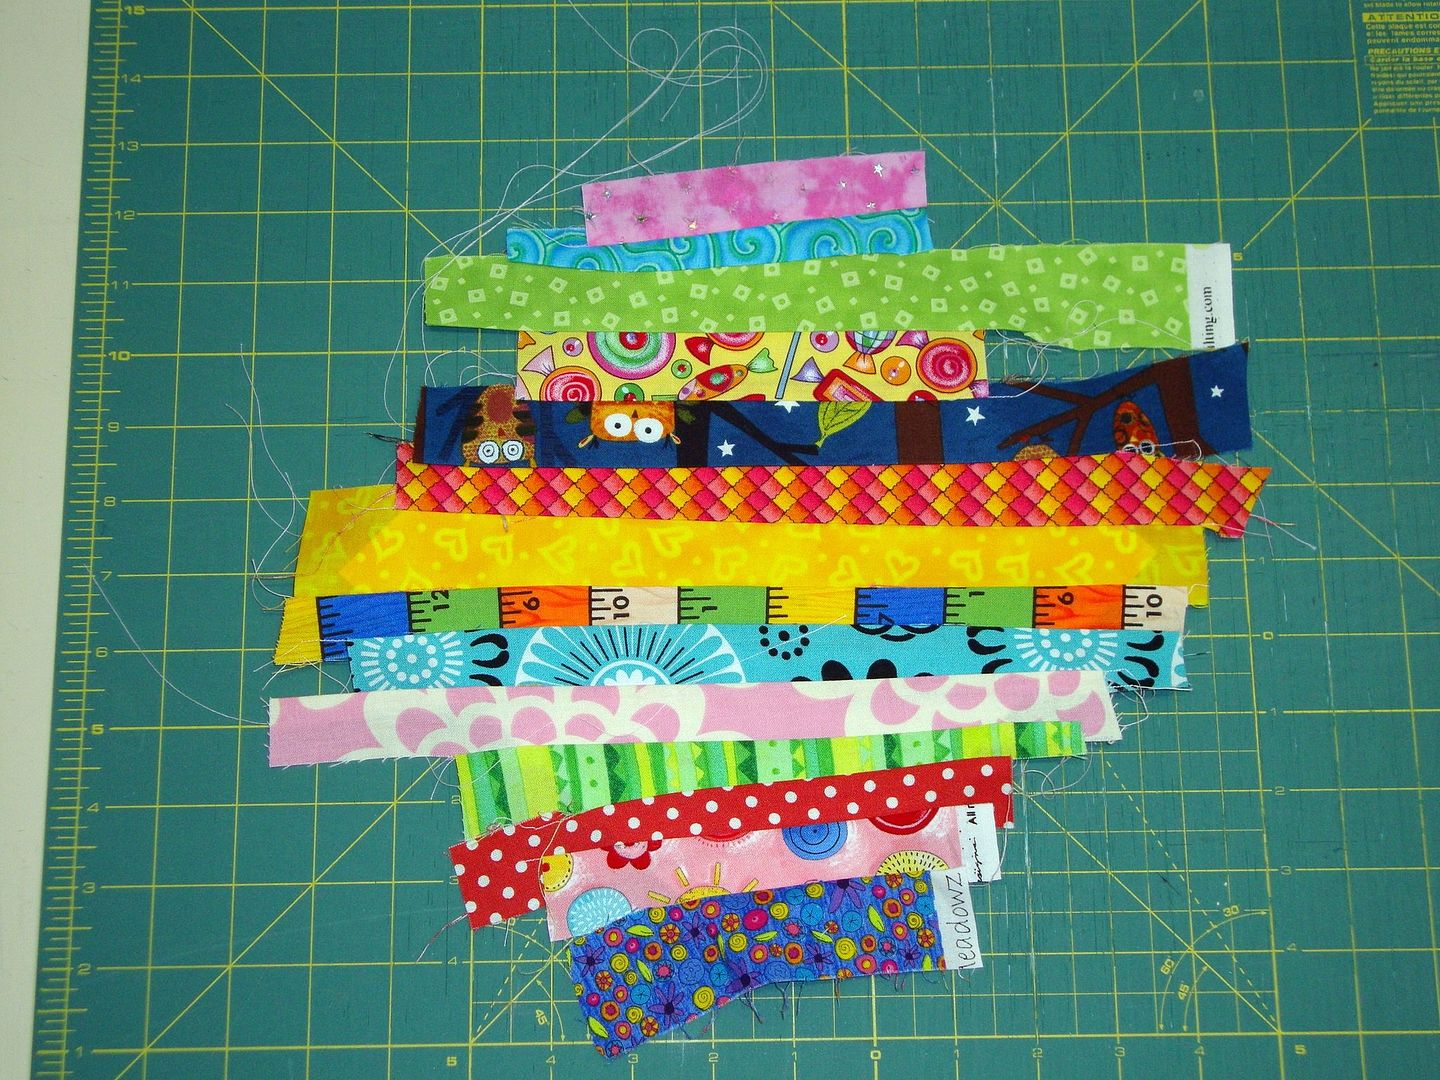
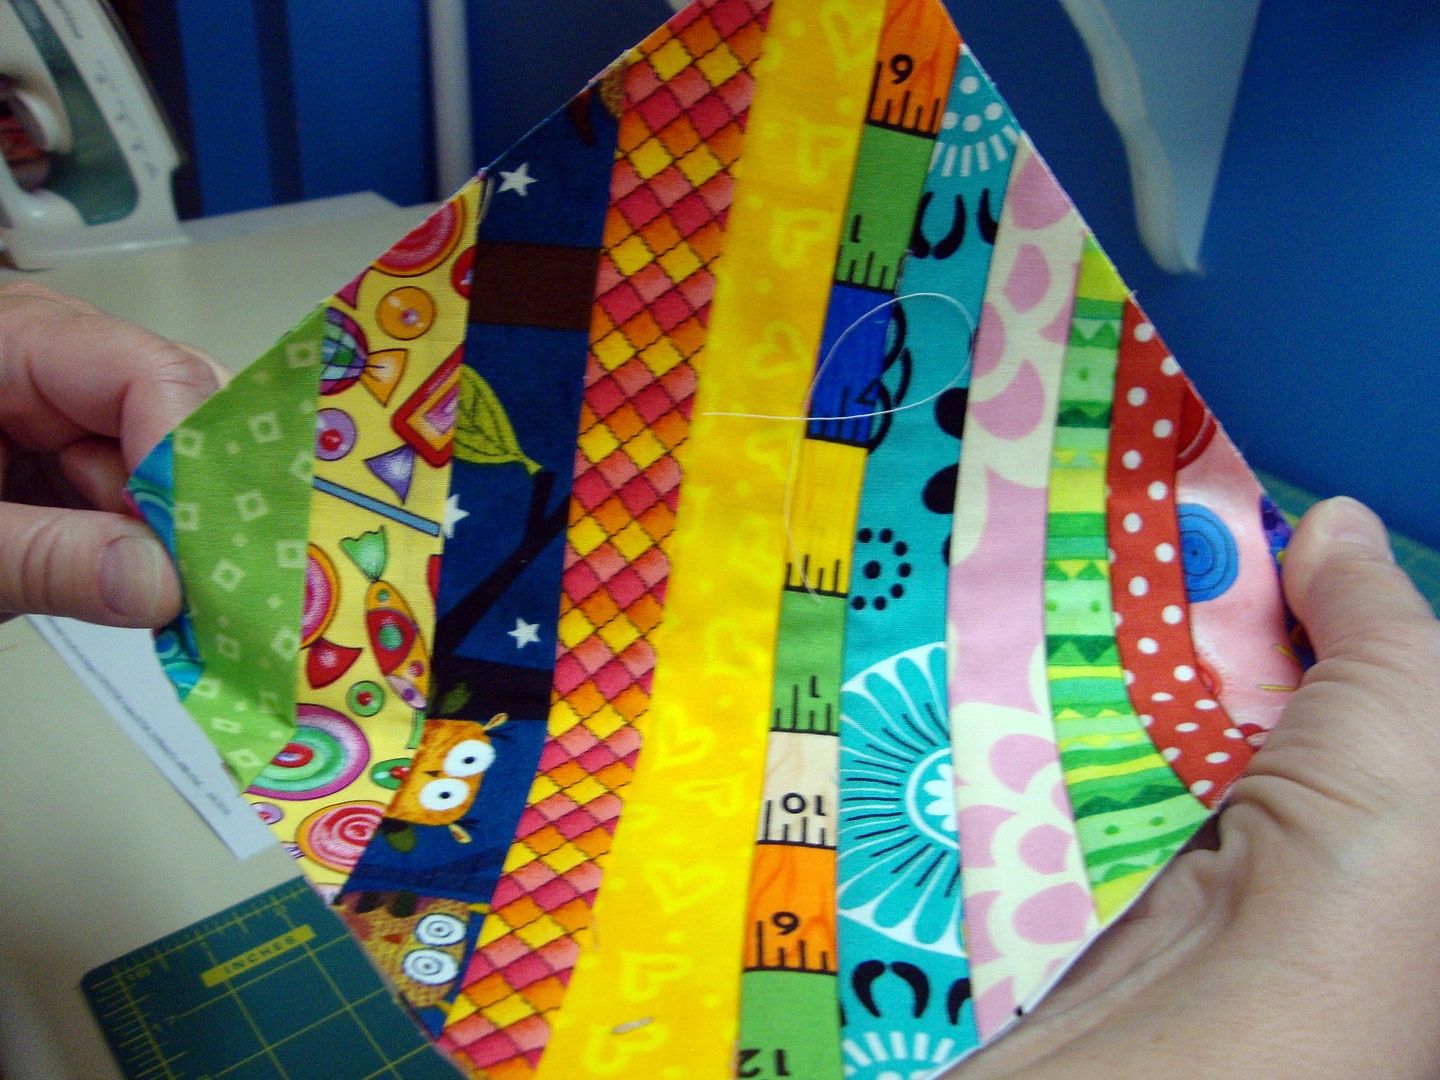
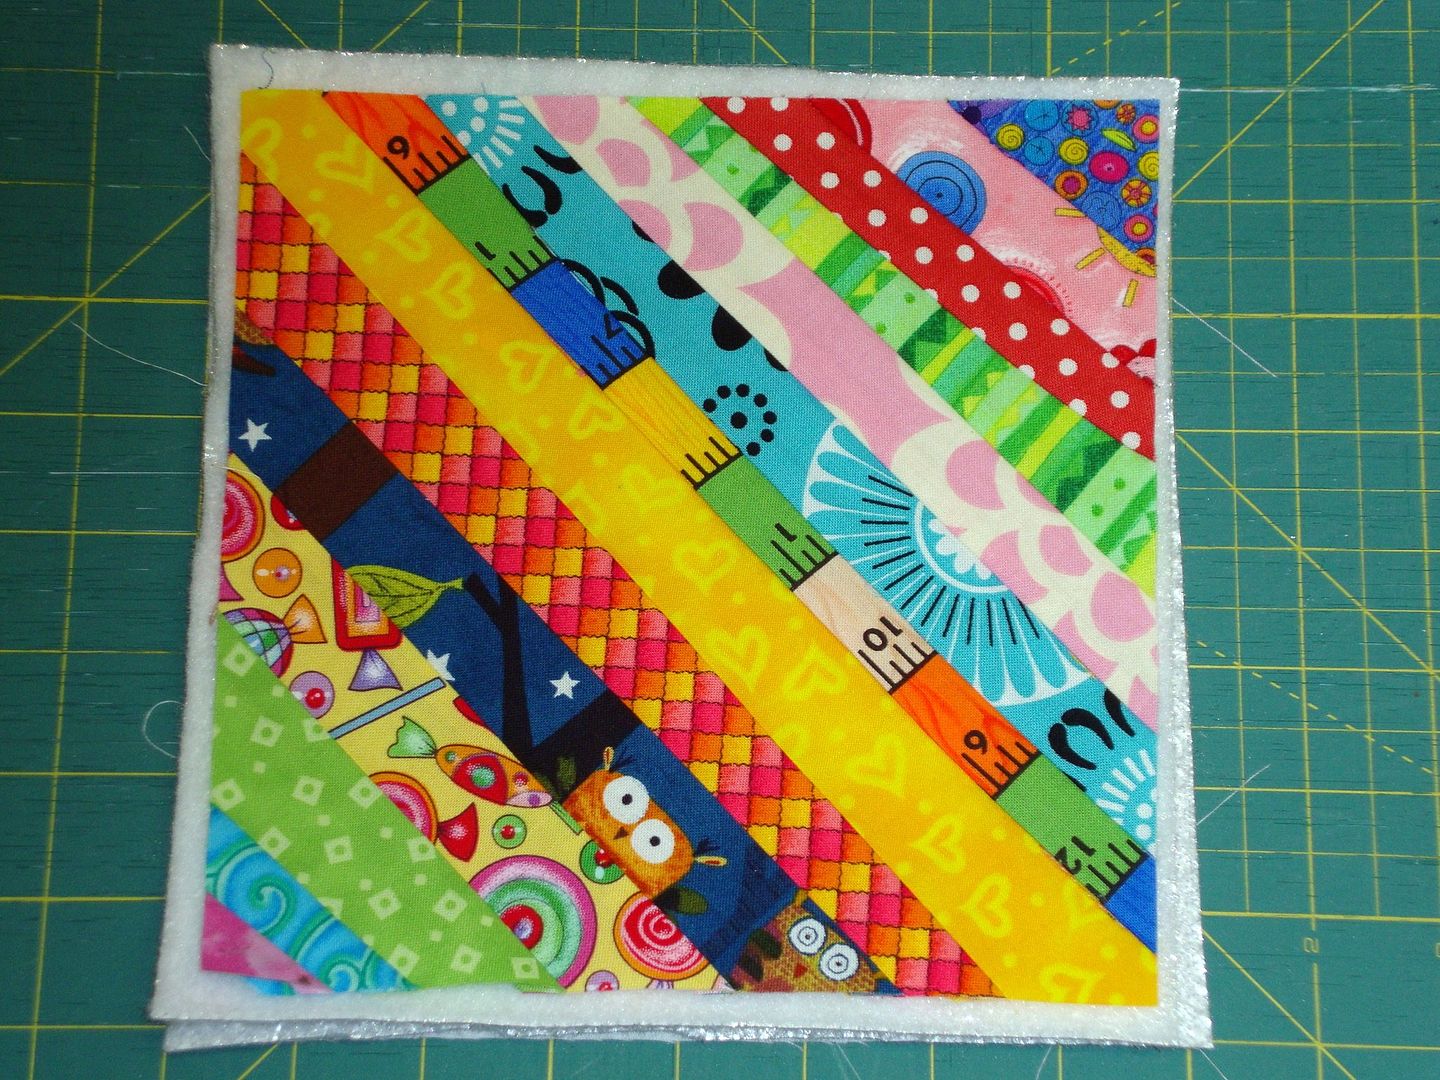
Fill the second half and your block will look like this one.
Now flip it over
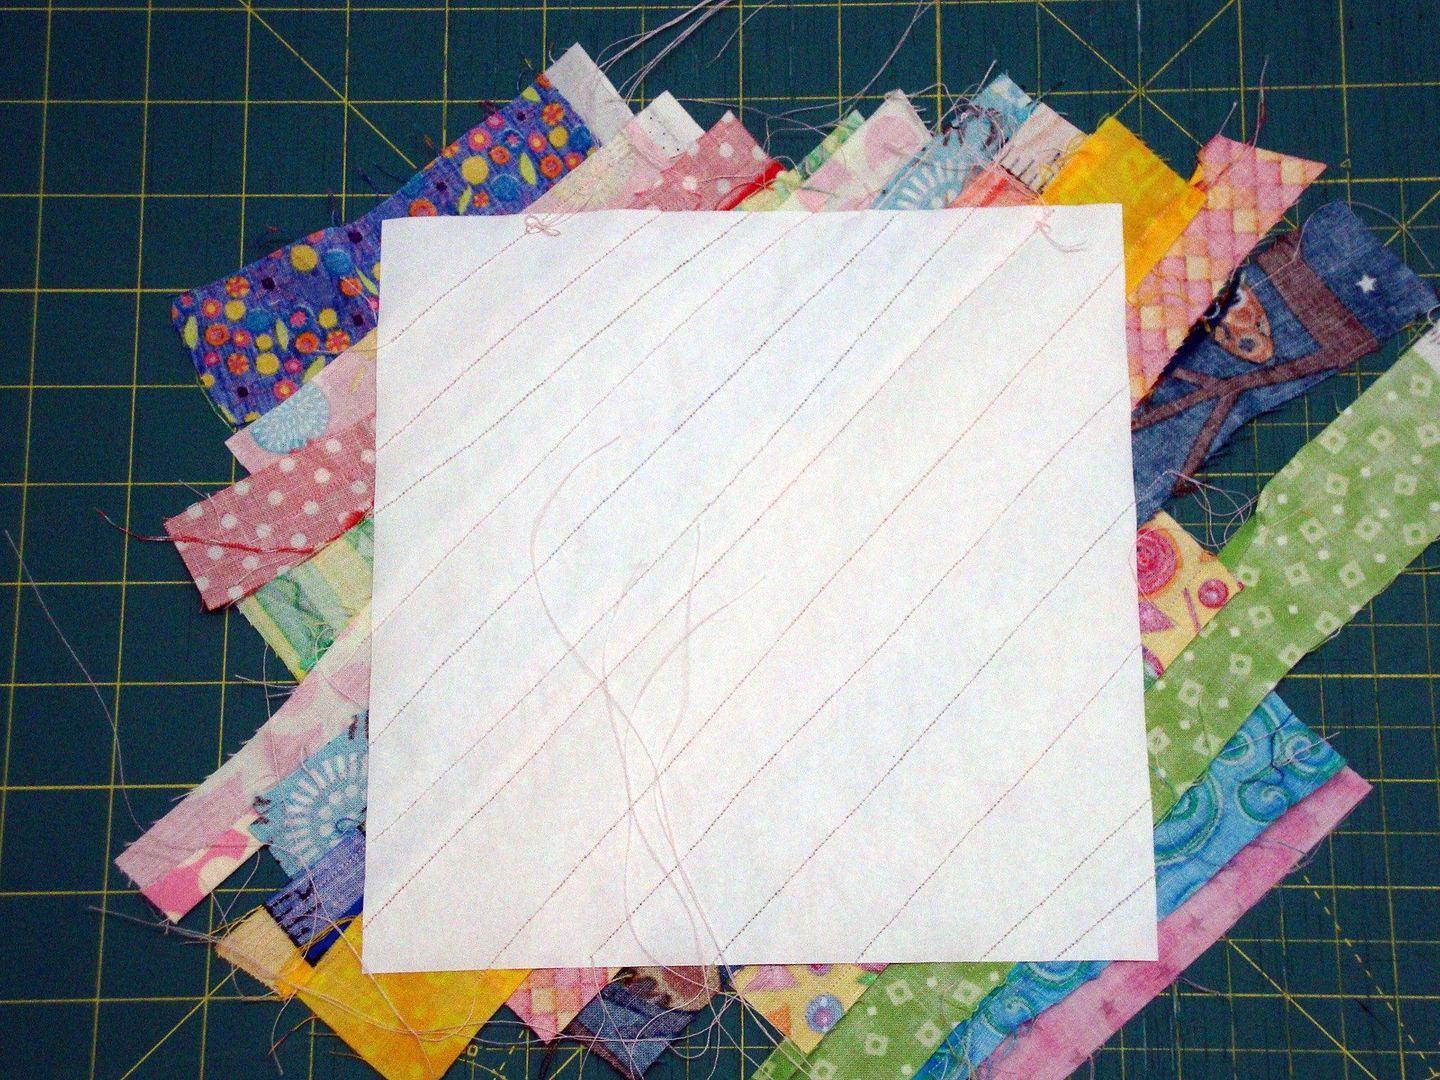
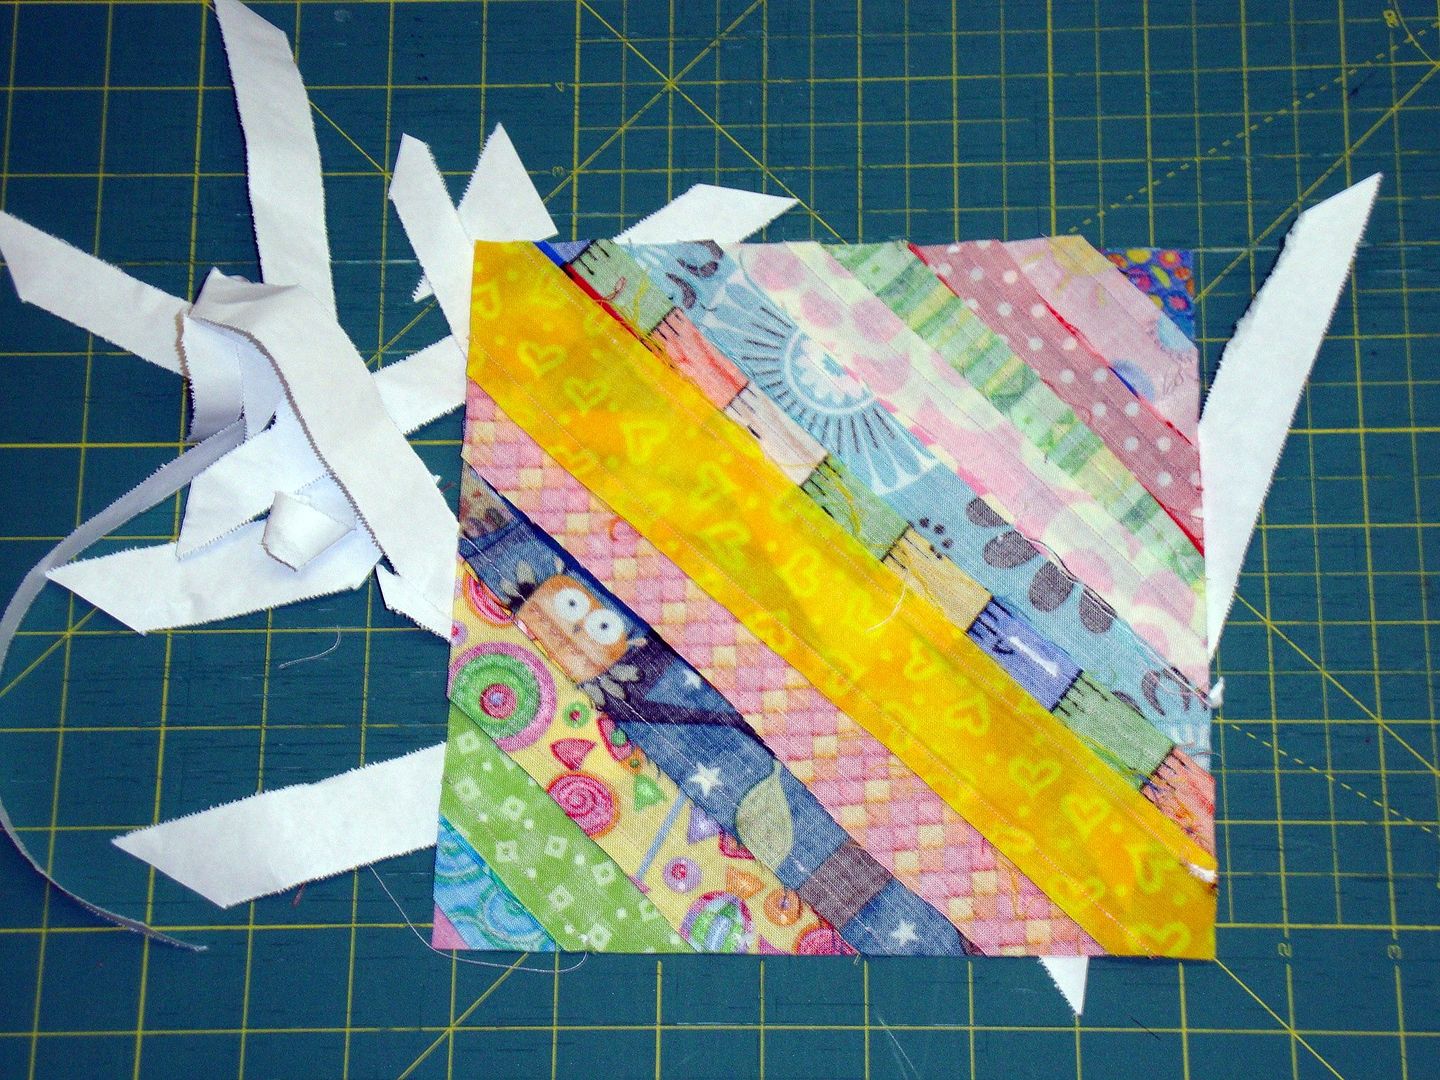
and trim the fabric from all four sides
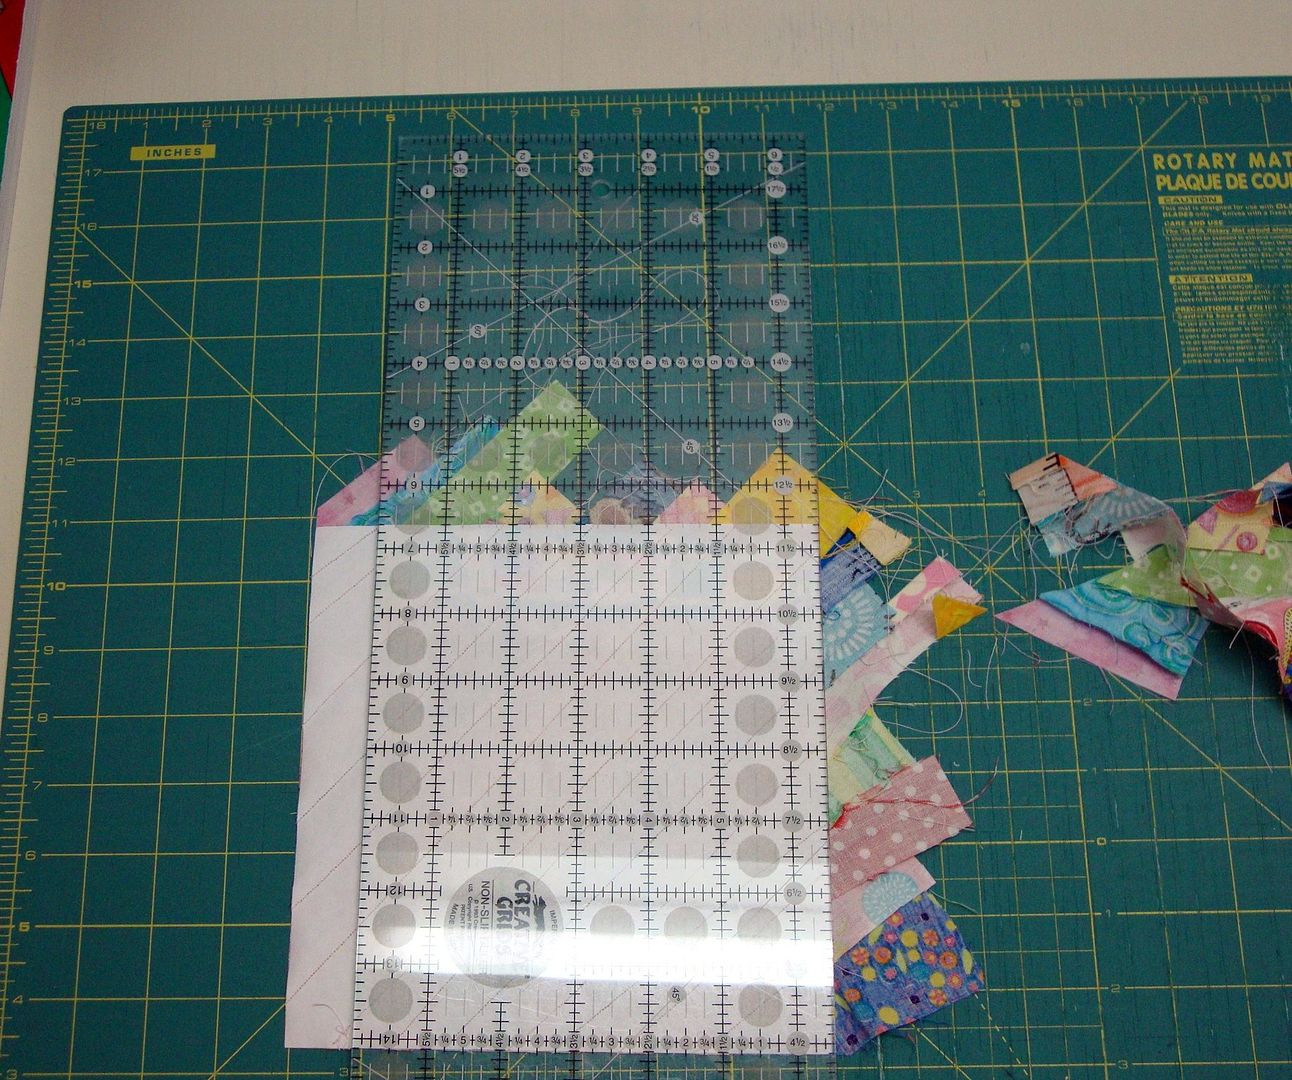
Here is your block!!

Remove the paper; it is easier to remove it if you give the block a little tug from corner to corner. The paper will come right off!
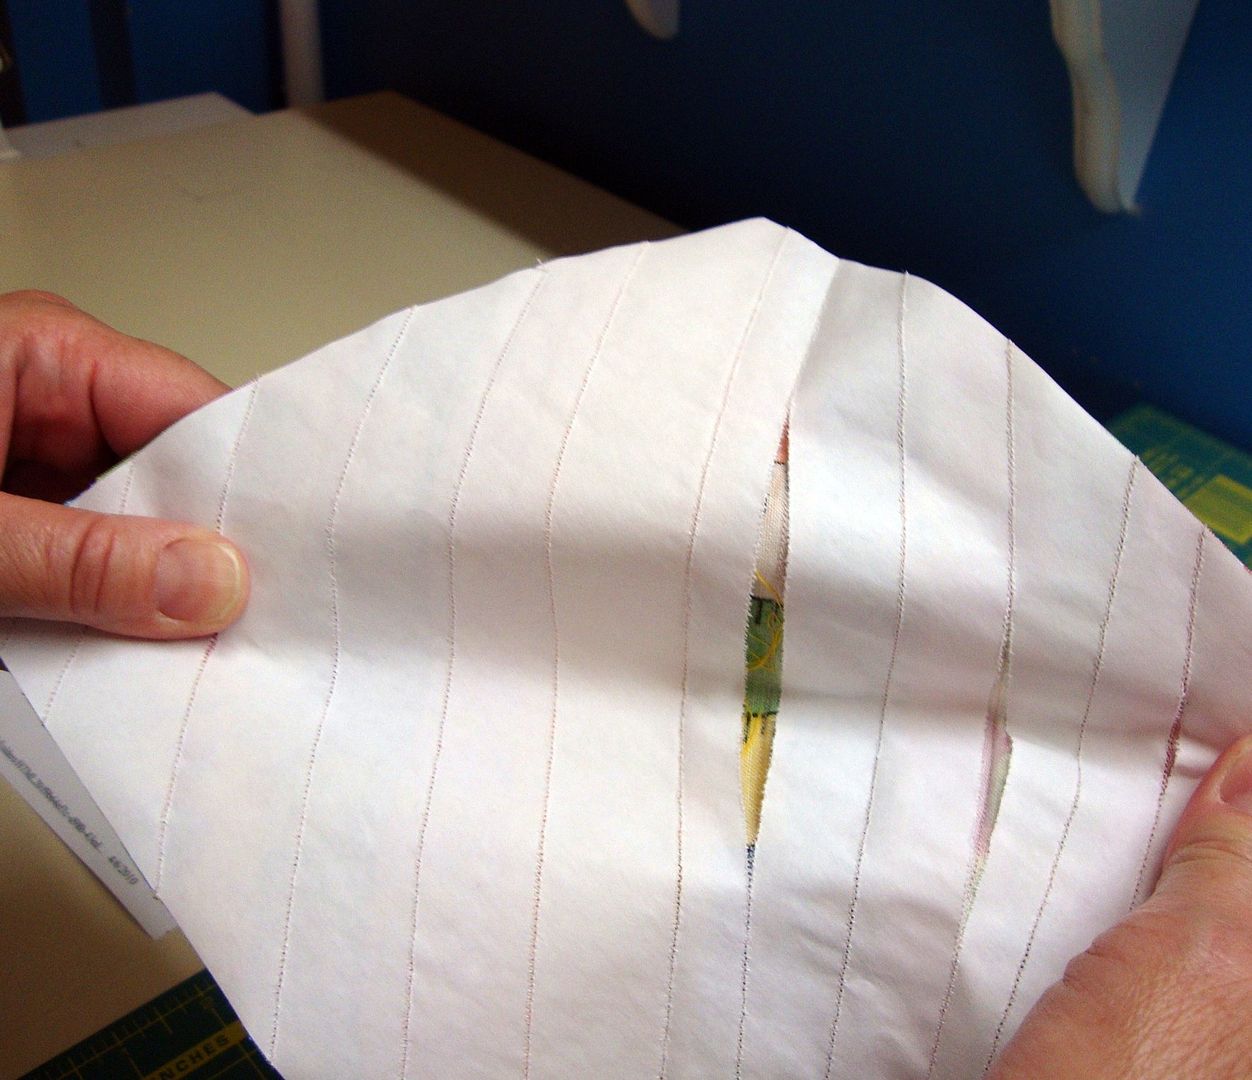
FUN RIGHT!!!!??
Next step….
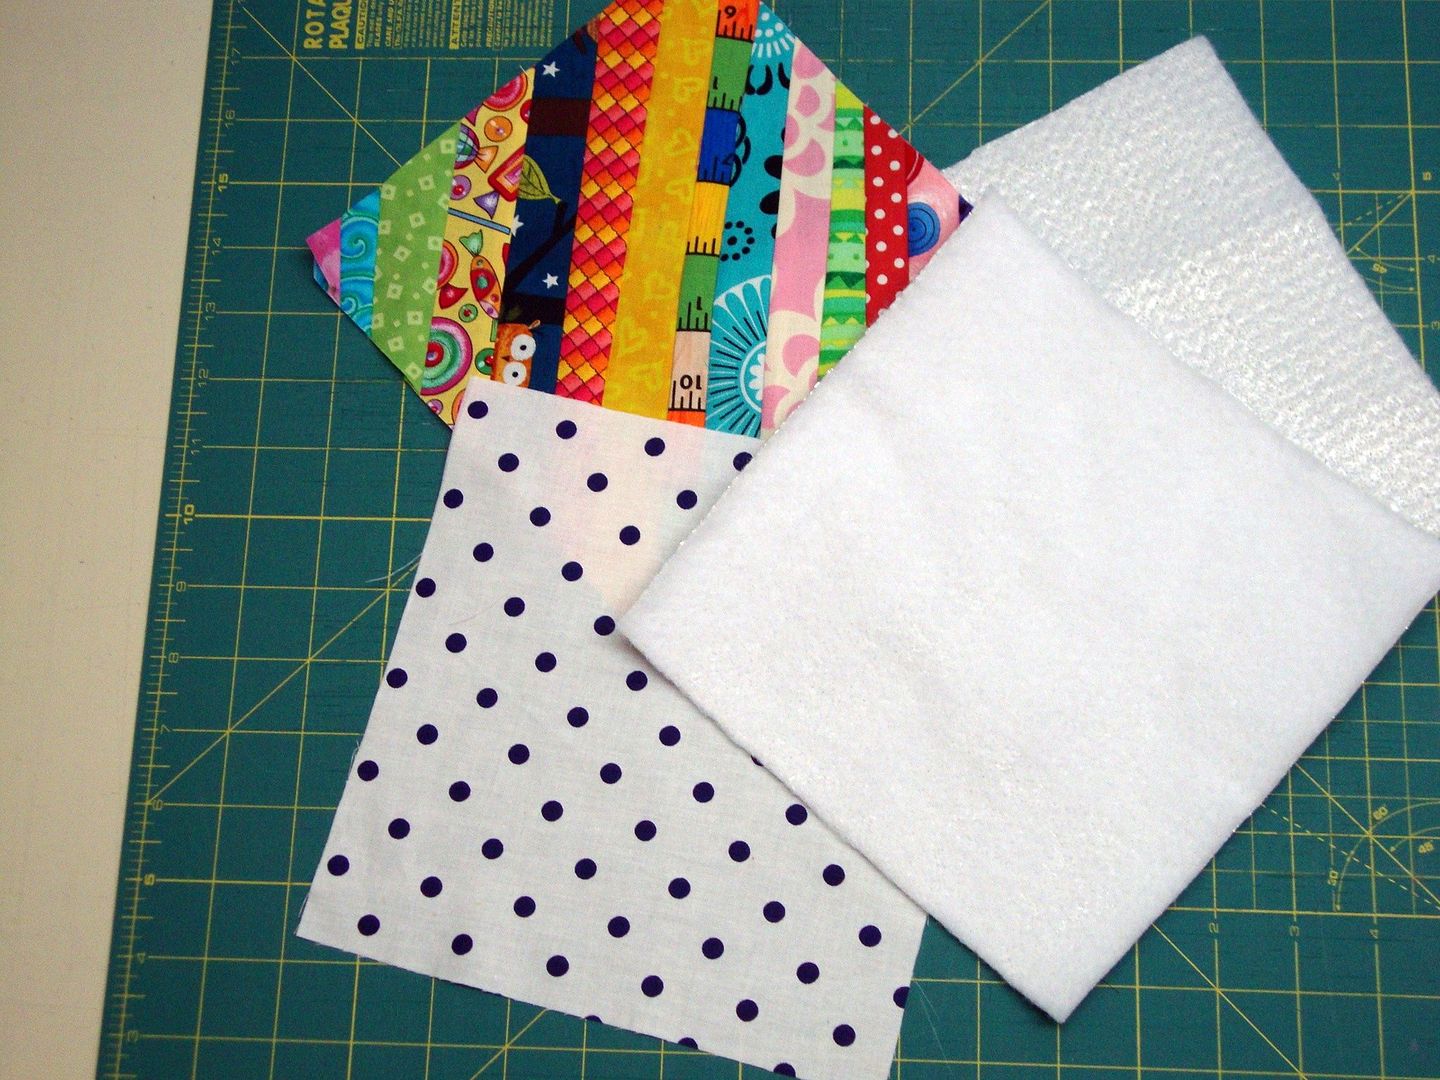
For a pot-holder I use insule-bright batting. It is made for pot holders, placemats table-runners anything that will be exposed to a hot item.
There are many foods of thought as to how many layers to use for a pot-holder, I do two layers. The choice is yours. You can also use regular batting, but I would then do more than one layer.
Cut two squares of batting 8 by 8, set aside.
Now cut a background for your pot-holder 8 by 8 set aside.
You could also make another string block for the back!!
Reversible, how fun would that be!!!
Layer your pieces
Backing WRONG side up.
2 layers of batting
Top RIGHT side up.
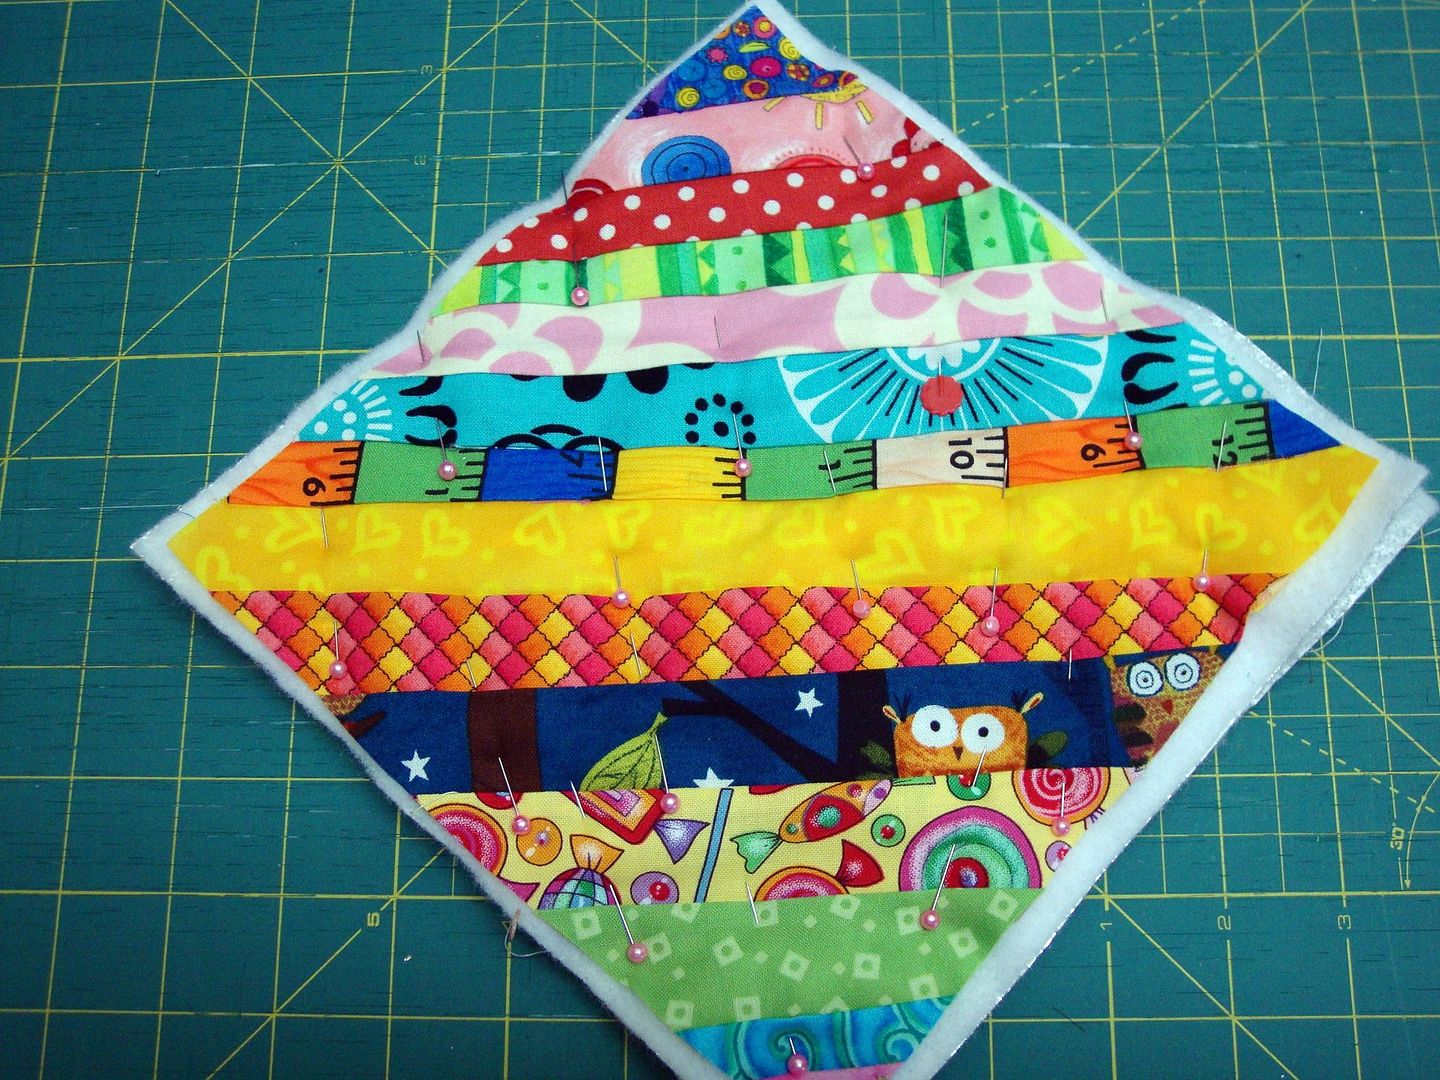
Prepare this for quilting as you would a quilt. I baste with small safety pins, but with this being a small project, and not knowing how to machine quilt, I am going to use straight pins.
I hope you wonderful machine quilters do not think less of me!!!
Quilt as desired! Again, I do not machine quilt but thought this would be a great time to give it a whirl. I started in the middle and just straight stitched from one corner to the other. The opposite direction of the way I made the block, I quilted the width of the foot on the machine! to the corner, flipped it and did the same to the other side.
Not to bad for a hand quilter, if I may say so myself!!
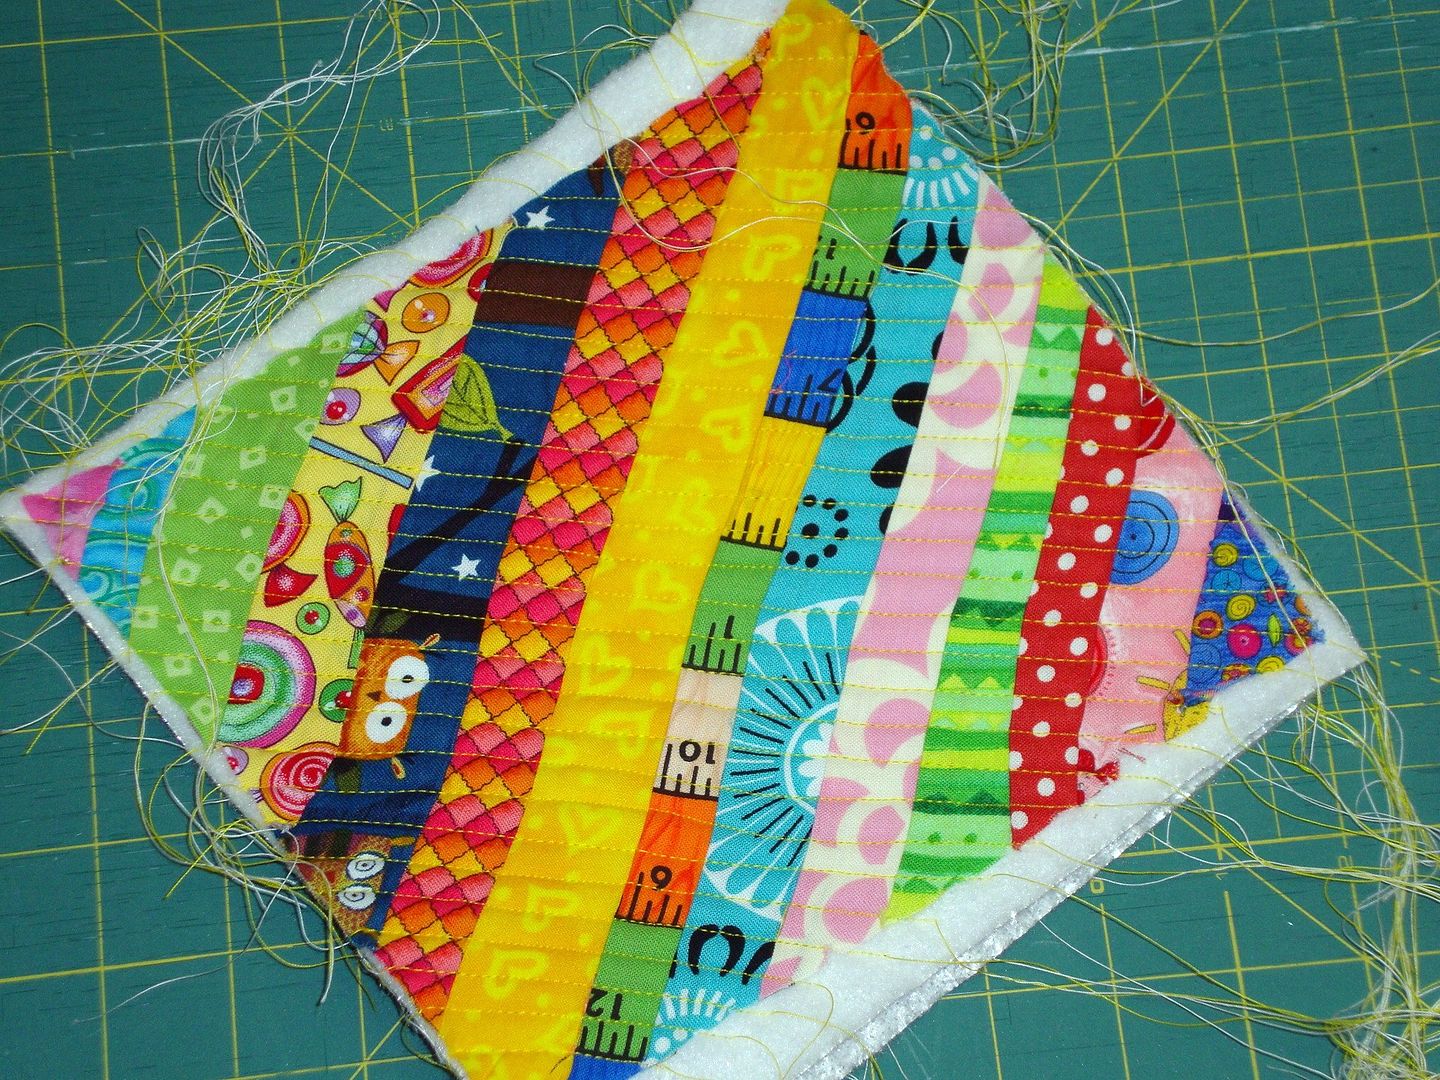
Trim it to size.

Next binding.
I am not going to even attempt to show you how to bind, to be honest I still have to check myself. I really just do not get it!! I have a wonderful friend who puts my binding on for me! This is how it looks when I do it!!
Anyway!!! Here she is in all her glory!!
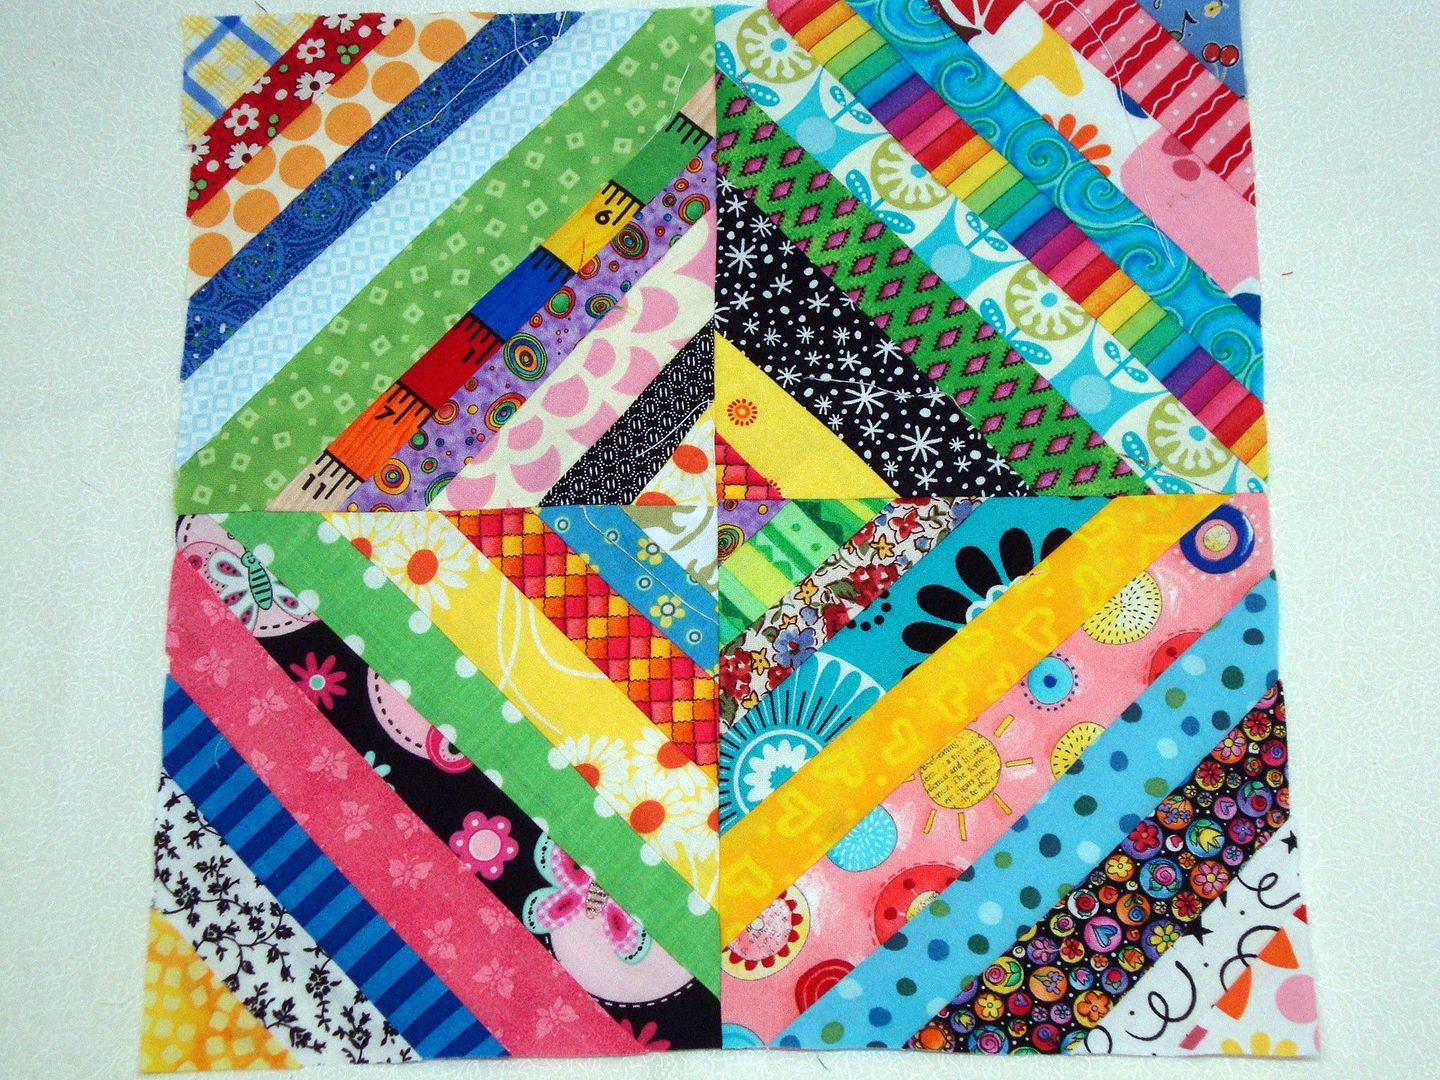
Last idea; this is a 12 inch block I made for a swap; it was made using four 6 inch pieces of paper. You could make a potholder using four 4 inch squares and it would be really scrappy.
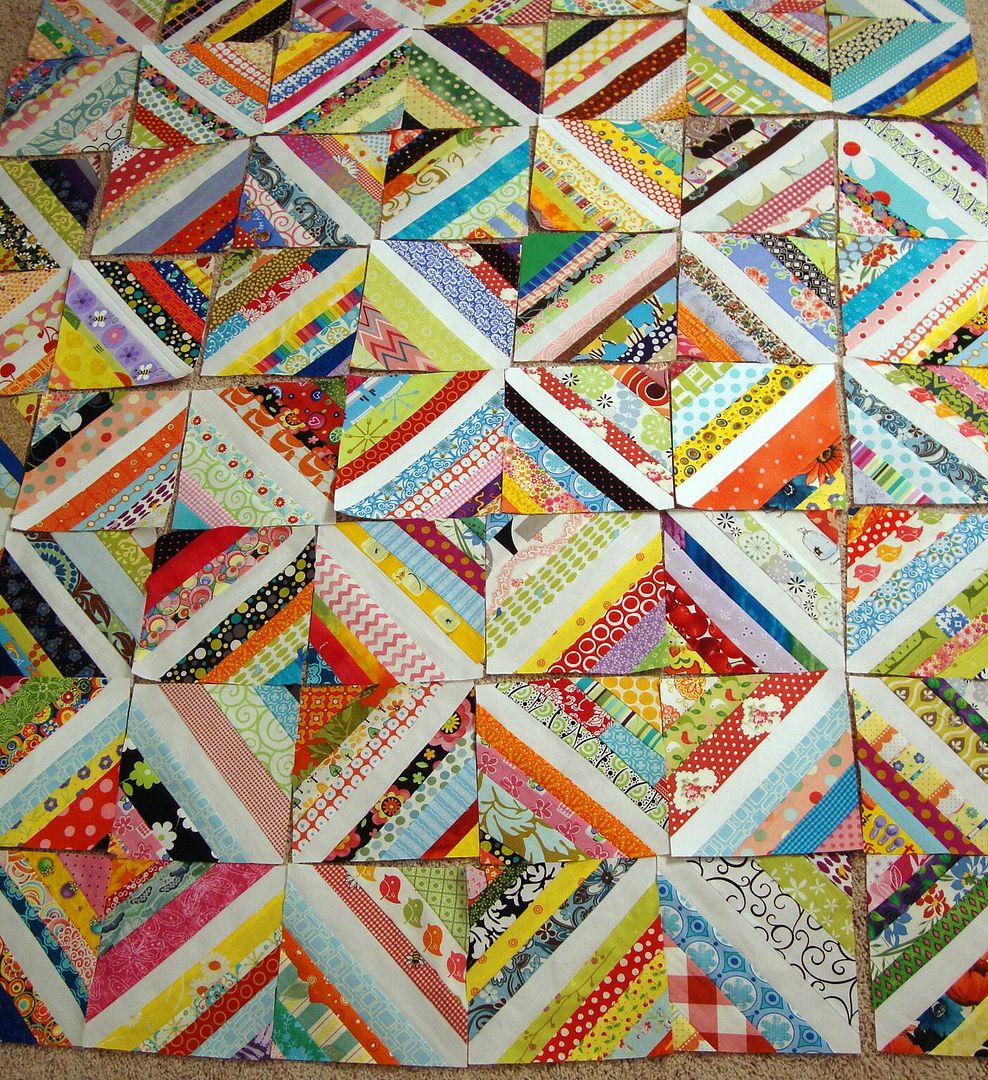
I am also working on a string quilt. I made quite a few string blocks then asked the gals in one of my bees to make some for me. I used white for each of the middle strips, to give it a secondary pattern. Looks like I will need to make a few more to get this quilt to a super nice picnic size. Oh nuts, I will have to make more!!!!
The whole point to this post is never; ever throw away your scraps!! Or if you do not want them, I will send you my address!!!!

What's your address? I may send you some scraps!
ReplyDeleteplease
DeleteLove your tutorial, color choices, and your sense of humor. Thanks!
ReplyDeleteThanks Jane!!
ReplyDeleteI made a string quilt after reading your tutorial. You made it look like fun and it was. I broke a lot of "rules" but I love my quilt. I just jumped in and did it. Thanks for the inspiration.
ReplyDeleteGenial. Tu manera de explicar es sencilla.
ReplyDelete